A few weeks ago, over on my Instagram stories, I shared a weekend DIY project my husband and I were working on: a panel molding accent wall in my home office. I was so excited about how it turned out that I shared it right away, but I wasn’t prepared for the flood of messages asking me how to install wall molding.
While I tried my best to answer everyone with a quick overview of how to install wall molding (aka wall moulding), I thought I’d also share a more detailed tutorial here on the blog for those of you who are looking for ideas for adding a touch of modern architectural interest to your walls.
In addition to an office, wall molding can provide a beautiful focal point in a living room, bedroom, bathroom, dining room, entryway, or laundry room.
Installing molding on walls is a great way to refresh your home, so let your imagination run wild when thinking of places to add some wall molding and trim.
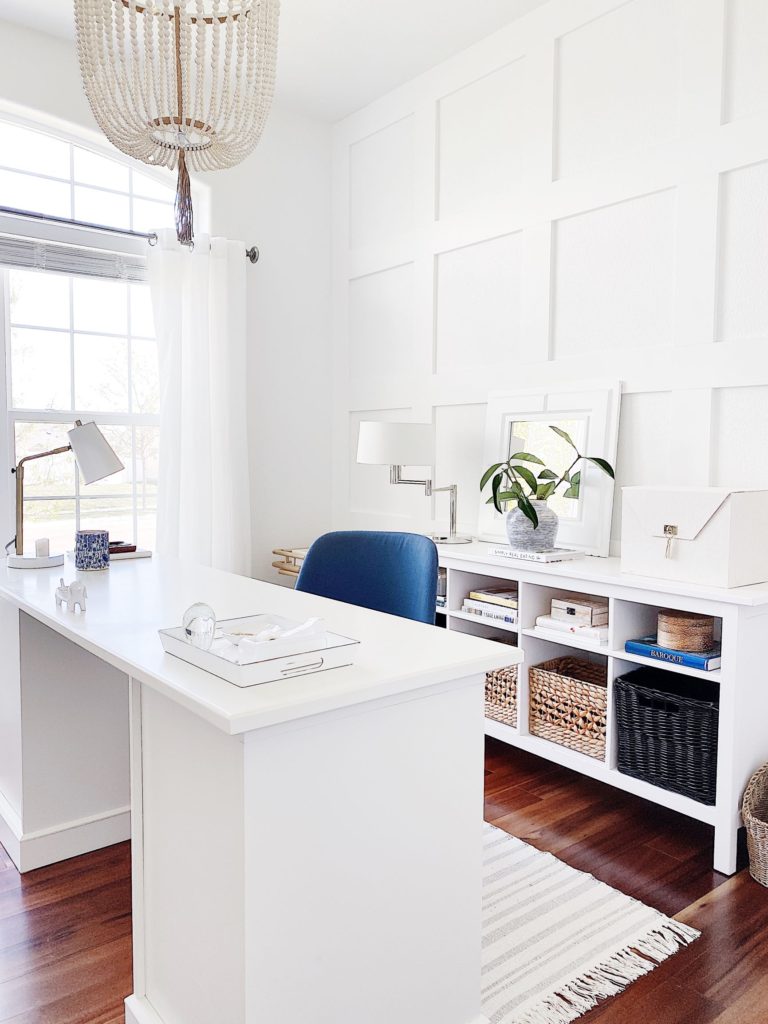
I’d been trying to figure out how to add some interest to my home office for a long time–especially on the big wall you see when you walk in the room–and researched lots of wall trim ideas.
A few times, I came pretty close to wallpapering or stenciling, but after our daughter and son-in-law recently created a DIY panel frame accent wall in their master bedroom, I knew that square wall moulding was the solution for my boring office wall.
And once my husband found out the project only took a couple of hours to install–and cost less than $200–he was on board, too!
This is a DIY project I highly recommend, and it can be completed in a weekend–so if you’d like to learn how to install wall molding (also called raised panel molding, grid wall molding, frame moulding, square trim, wall moulding, and board and batten) in your home, read on!
First of all, I believe anyone with basic carpentry skills and a passion for DIY home projects can do this, so I hope you’ll give it a go.
That said, it always helps to have a second pair of hands available. In our case, I did all the calculations and prep work, my husband did all of the cutting and installation, and we both did the finish work/painting.
Second, although the instructions for how to install decorative molding might look a bit daunting, once you get the frame and first row done, you’ll just be repeating the same steps and it goes pretty quickly after that.
I promise, once your feature wall is complete, you’ll love it so much it will be worth it!
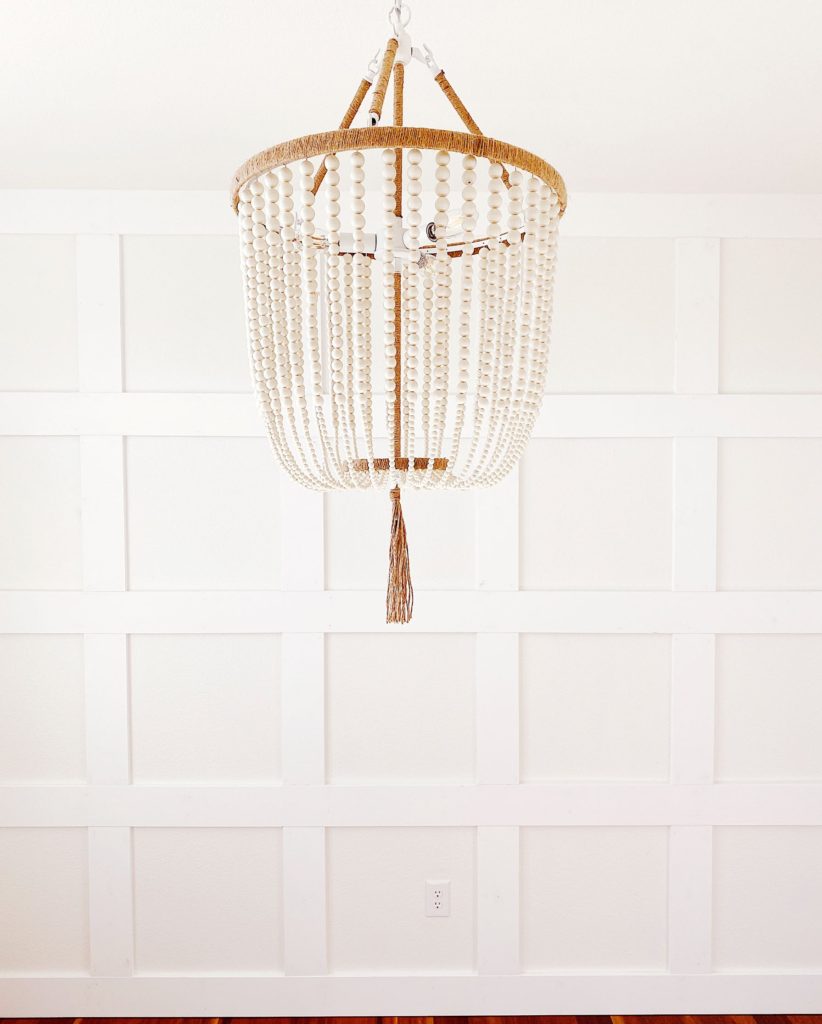
How to Install Modern Square Frame or Panel Style Wall Molding (aka Wall Moulding)
Supplies:
Molding: we used 5.5″ x 1/2″ MDF Base Moulding, which comes in 8-foot and 12-foot lengths. It also comes in a 3.5″ width. Here is a pre-painted alternative
Tape measure
Blue painter’s tape
Sturdy ladder
Regular level or laser level
Protective eyewear
Compound Miter Saw and a place to set it up*
Nail gun/nails* or brad nailer
Caulk – one or two tubes
Caulking gun
Wood filler
Sandpaper
Disposable gloves (optional)
Paint and trim brush (this one’s my favorite)
Paint (we used White Dove, by Benjamin Moore in satin finish)
*It’s possible to complete this project using a miter box, saw blade, hammer, and finishing nails, but if you’re installing over a large area, a miter saw and an electric or pneumatic nail gun will make the job much easier and faster.
1. Measure and Decide How Much Wall Molding You’ll Need
To ensure precise measurements, gather a calculator, a tape measure, and paper and pencil and measure the width of your wall from corner to corner and the height from the ceiling to the floor. (We removed our existing baseboard and installed the molding as our new baseboard.)
If it helps you visualize the size of the squares, use blue painter’s tape to mark your sections on the wall to get an idea of what different configurations will look like.
First, I measured the length and width of the wall and played around with the calculations and number of squares until the pattern was even.
Since we knew we were using 5.5″ wide boards, I made sure to subtract those 5.5″ widths from the wall width and height to come up with the interior square dimensions.
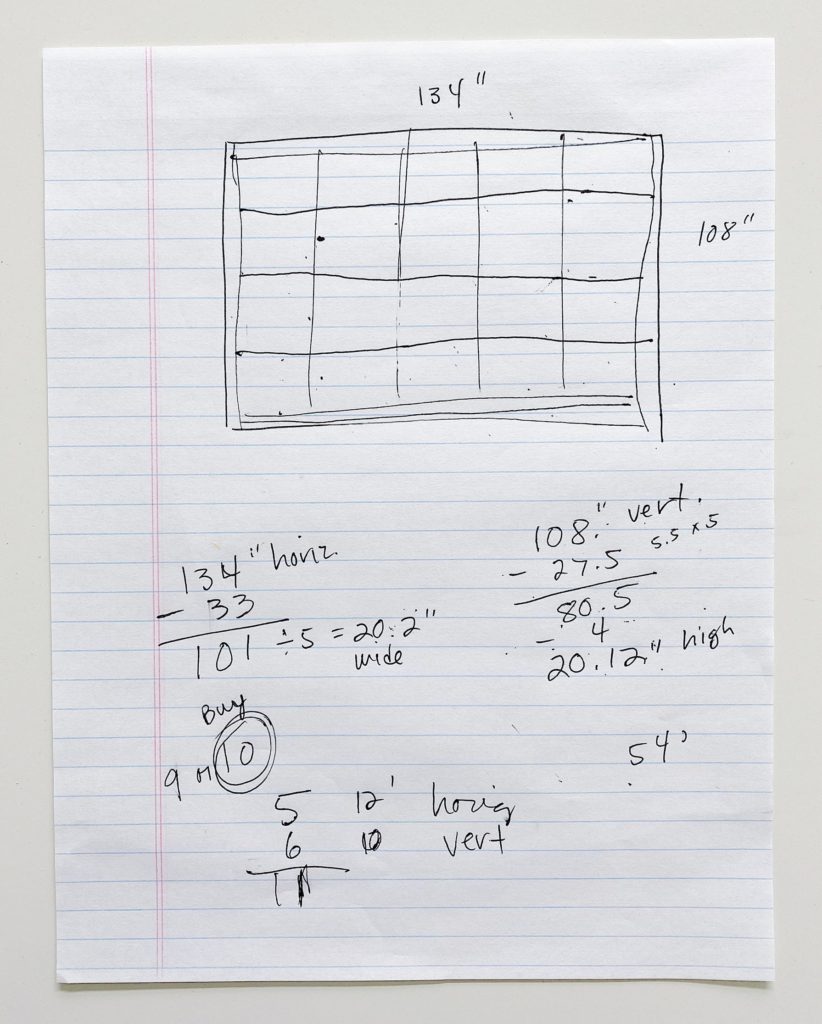
For example, in my calculations above, six vertical slats, at 5.5″ wide each, equals 33 inches.
I subtracted the 33″ from the total width of the wall (134″), to get 101 inches, which, divided by 5 squares across equals 20.2″ wide.
Likewise, moving vertically, I figured out that we could use 5 boards at 5.5″, equaling 27.5″, subtracted from the total height of the wall (108″), to get 80.5 inches, divided by 4 squares equals 20.12″.
That meant our sections would be 20.2″ wide x 20.12″ high, which was close enough to square for me!
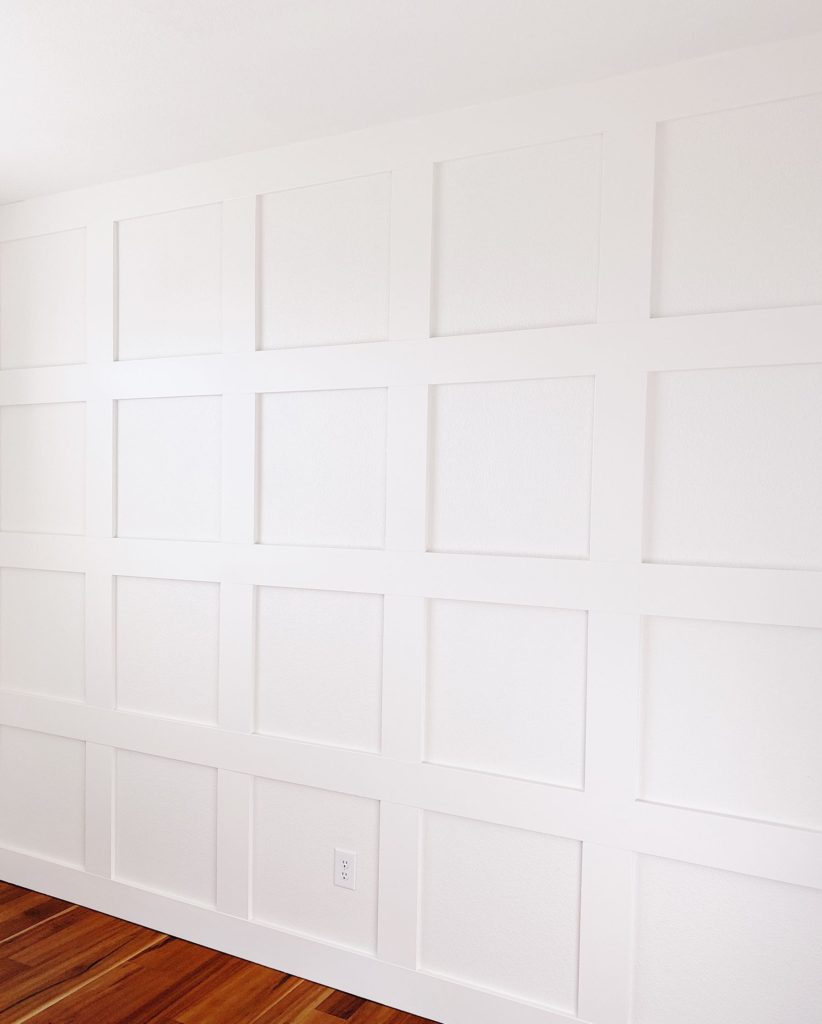
By the way, even though we were lucky to have a wall that worked out mathematically for squares, I’ve seen many board and batten feature walls with rectangular sections–and they looked amazing.
So if your wall is sized so you can’t come up with squares, just go with rectangles, either vertically or horizontally. It really doesn’t matter.
Once your calculations are done, you’ll know how many boards you’ll need to buy for your project.
We bought ten, and ended up needing nine–but I’d rather over-buy than run to the store in the middle of a project.
If you’re wondering how much the molding will cost, most panel molding comes out to a little over a dollar per foot.
Wall moulding comes in 8-foot and 12-foot lengths.
You probably don’t want to be cobbling short pieces together to make a longer length, so try to buy the 12′ lengths if you can find (and transport) them.
2. Paint
While many (most?) people paint their feature wall or accent wall in a contrasting (often dark) color, I decided to paint the molding the same color as the office walls, which is White Dove by Benjamin Moore.
We already had a can of White Dove in the eggshell finish, and I didn’t want to spend time deciding which color to use, so I went with what I had.
Later, if I decide I want the wall to be a darker color, I can always paint it, but so far I’m loving the way it looks!
Once the wall molding pieces arrived, my husband was ready to get started and I didn’t want to slow down the process by suggesting we paint them first, so we painted the molding after it was installed — but it might have been easier to paint it in the garage and just touch it up after it was installed.
3. Wall Molding Installation Instructions
- Remove your old baseboard and any crown molding.
- As you move along through the project, measure the next length of wall moulding you’ll need according to your calculations and cut it with a miter saw. (Measure twice, cut once.) Cut the boards outside or in the garage because it will create a lot of dust.
- Create a frame on the wall by attaching horizontal molding strips at the ceiling and floor and vertical molding strips on the left and right-hand sides of the wall, using a pneumatic nail gun to secure the lengths to the wall.
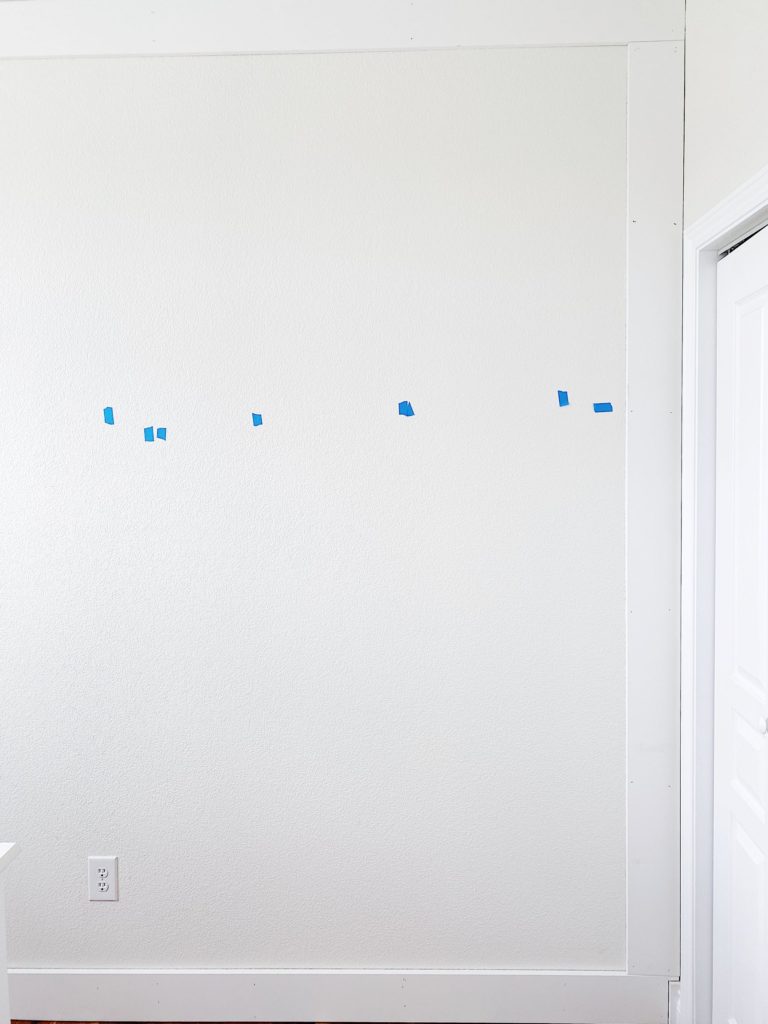
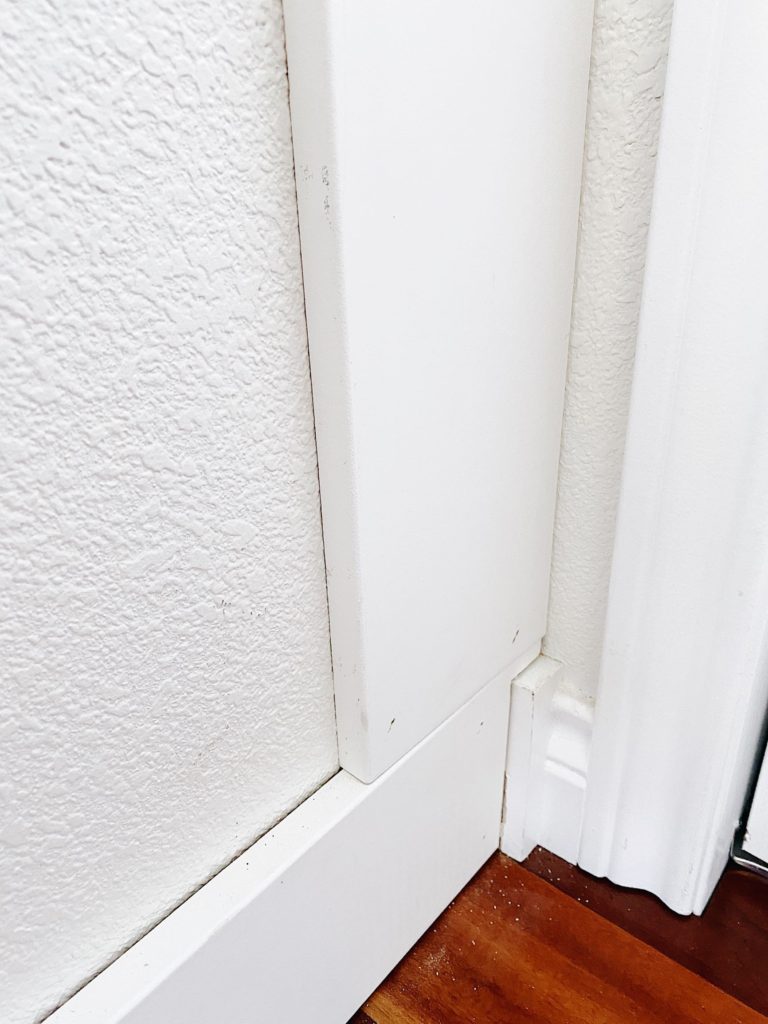
- You might need to make a little notch to fit the molding against your other trim work, as my husband did in the lower corners of our wall.
- After the wall frame is installed, re-measure the height and width of the space inside the frame to make sure your calculations are still correct.
- Next, starting from the bottom of the wall, measure and cut (according to your calculations) the short vertical molding pieces that will comprise the bottom squares.
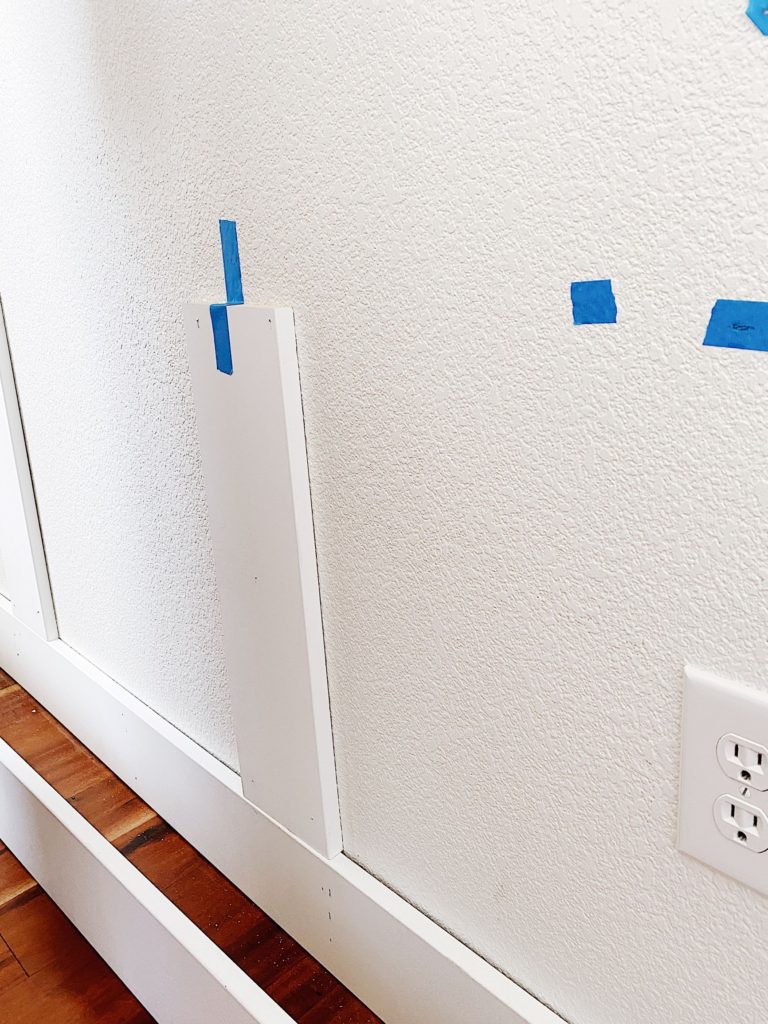
- Before you attach the pieces with the nail gun, tape them to the wall and measure the width between each strip of molding to make sure you have them spaced evenly. Then nail them in place.
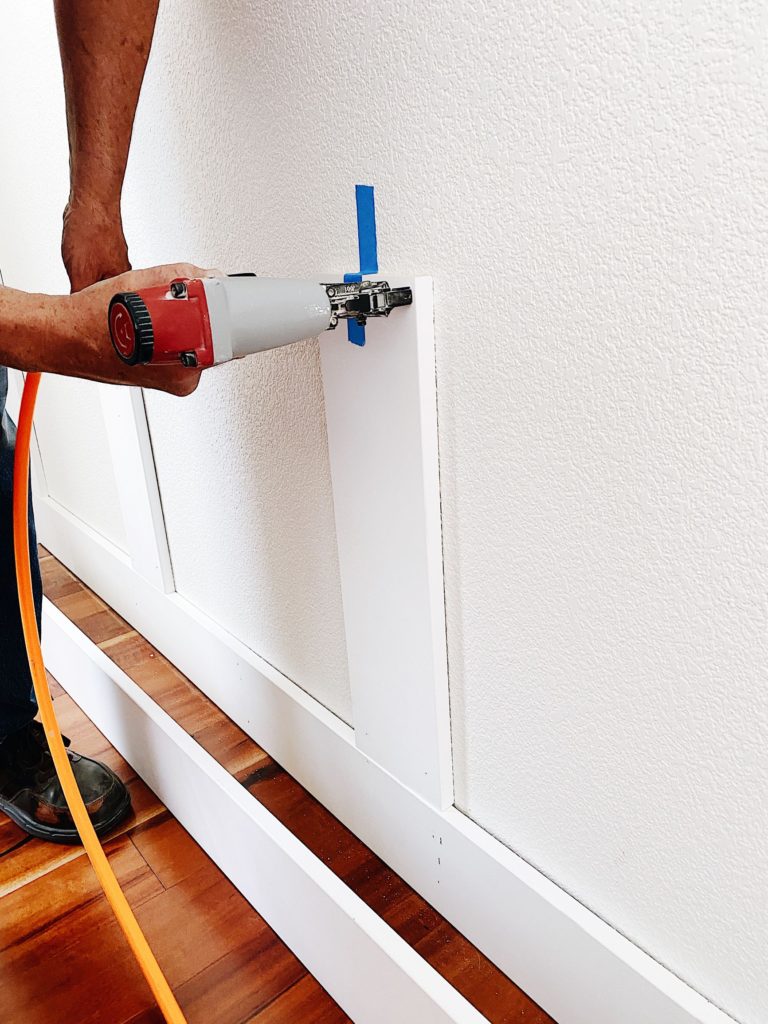
- Place the next long horizontal strip on top of the vertical molding pieces you just installed, check to make sure it’s level, and attach it to the wall with the nail gun.
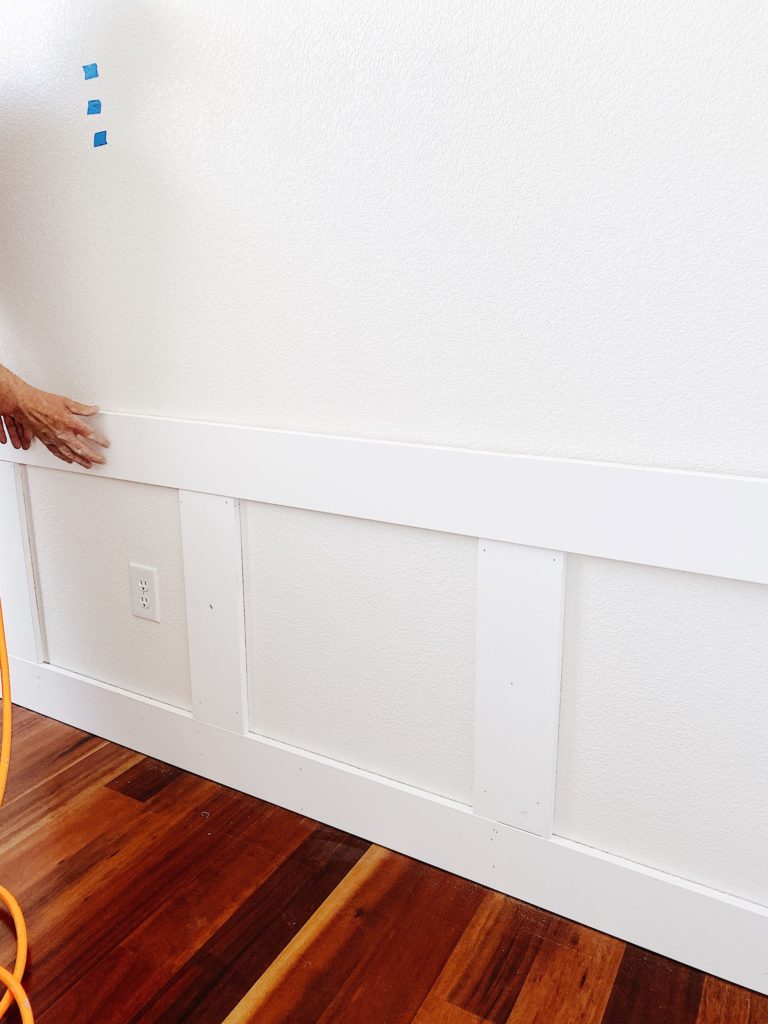
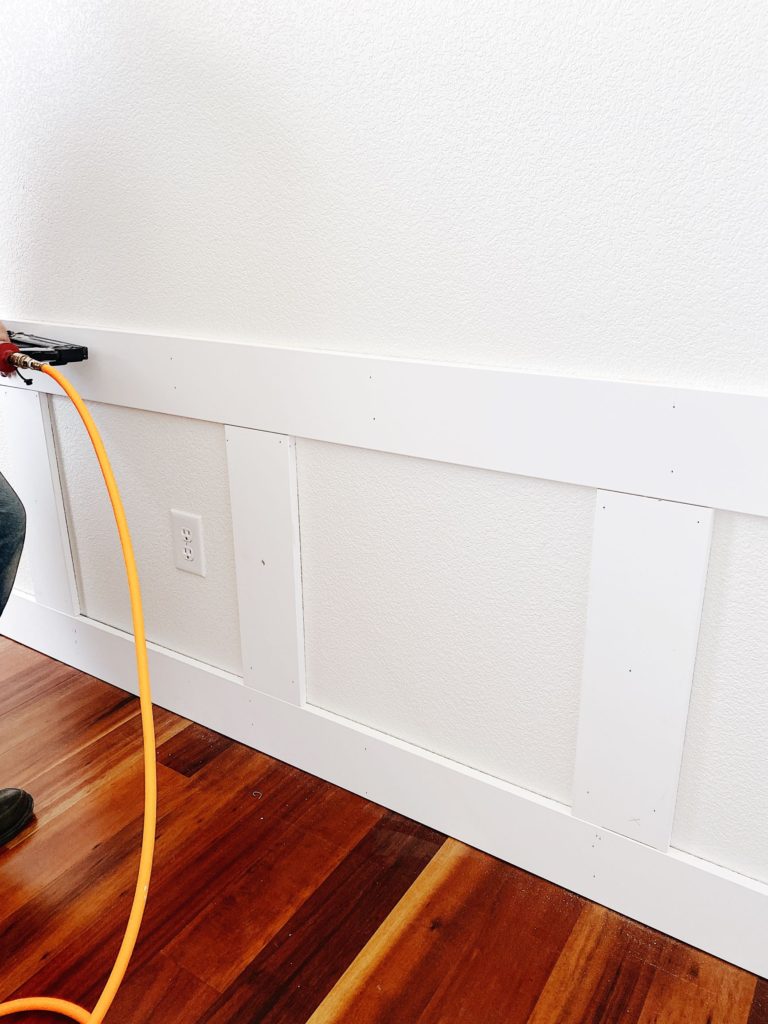
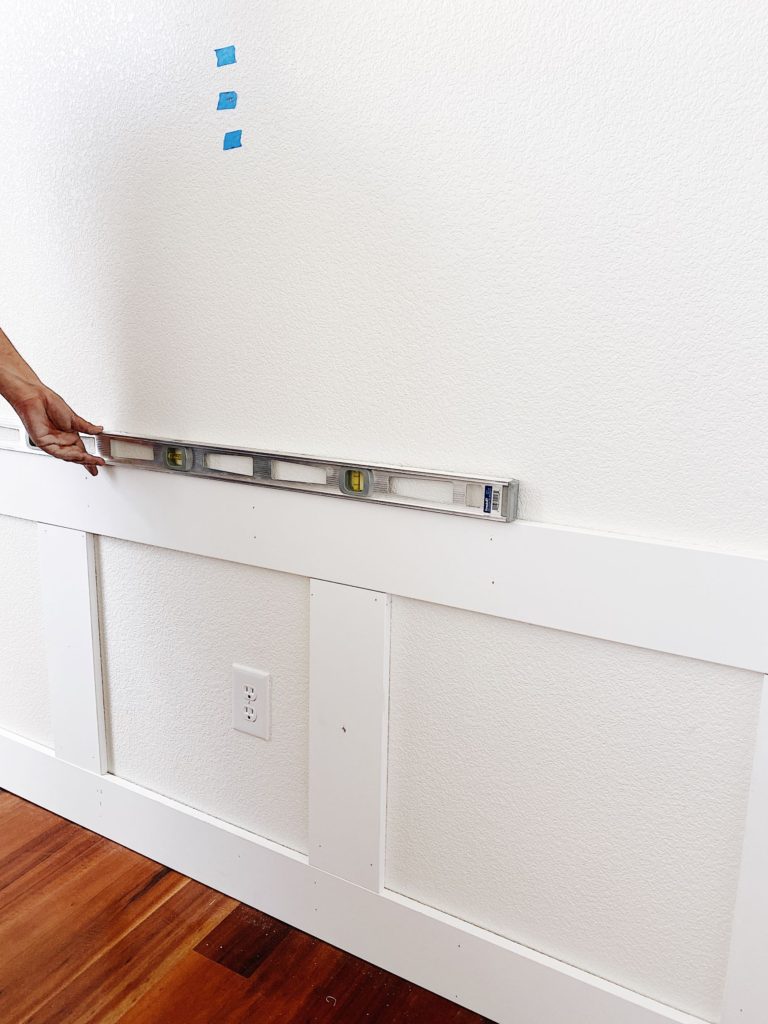
- From this point on, you’ll just move up the wall, repeating the steps I just shared: attaching the short vertical strips and laying the next long horizontal strip on top of them.
- As you go along, continue to use the level, both horizontally and vertically, to make sure you’re positioning the strips correctly.
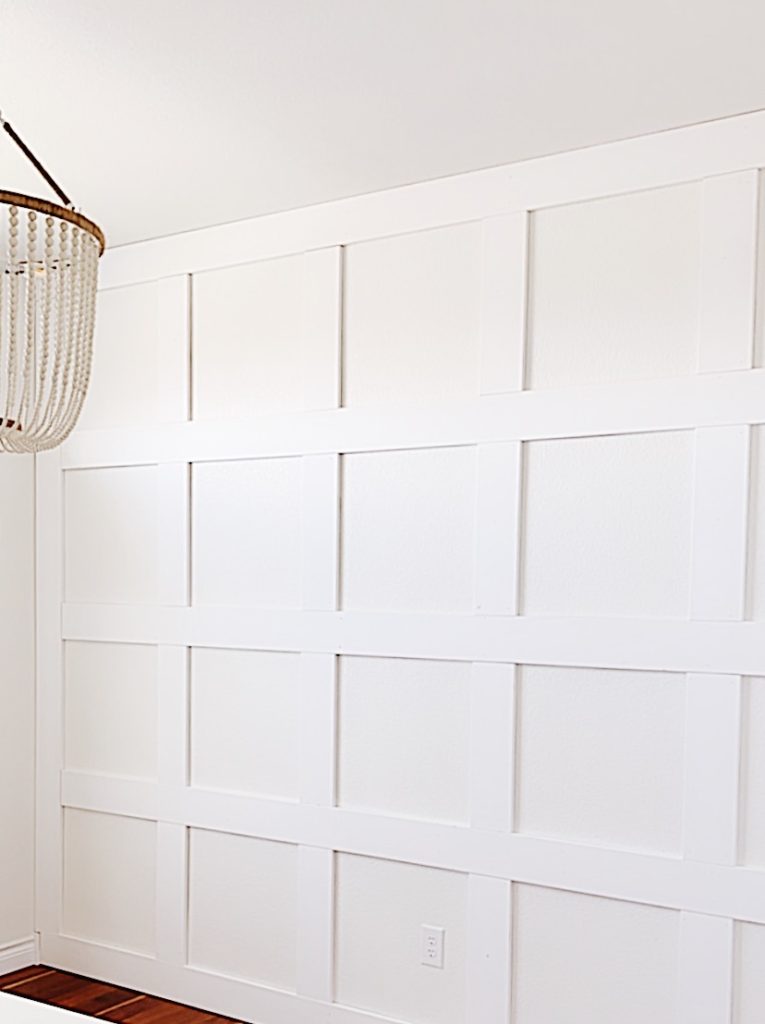
4. Finishing Your Accent Wall
Once the wall molding is installed, you’ll need to caulk around the inside and outside edges of the unfinished molding strips where they meet the wall to cover the gaps.
Using a caulking gun makes this job much easier!
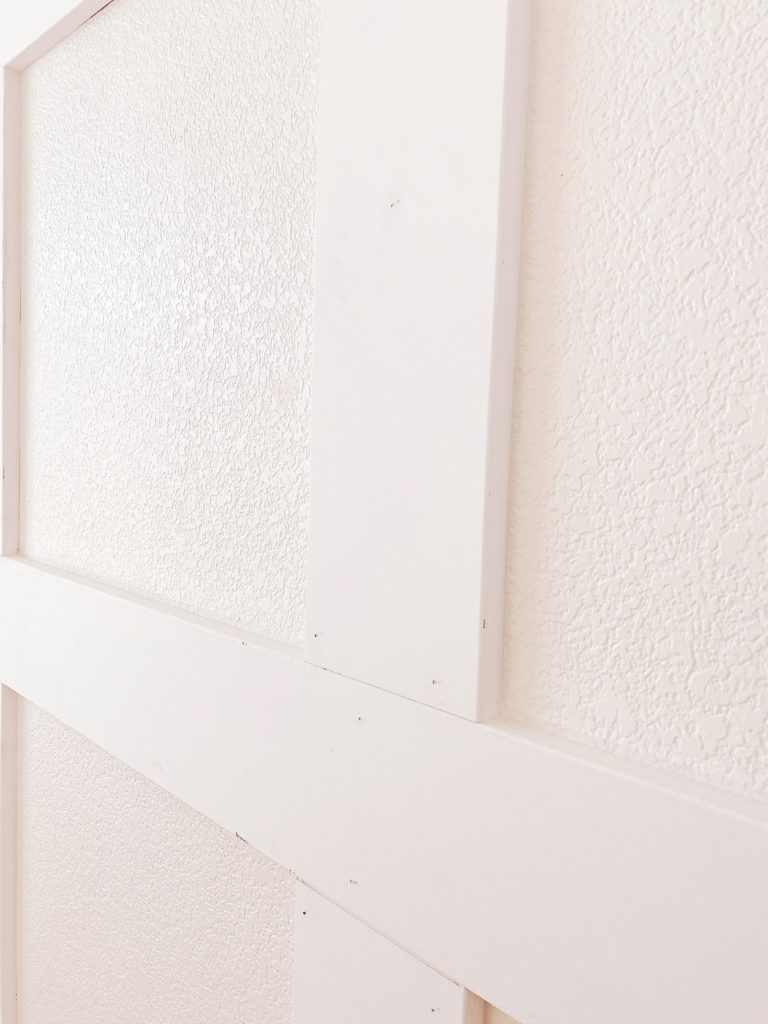
If necessary, smooth lightly with your fingertip. Wipe up any excess at the corners. Make sure you’re wearing disposable gloves and have lots of damp paper towels handy!
Also make sure the tip of your caulk gun is pointing at the correct angle toward the wall (I learned this the hard way!).
Let the caulk dry before you paint.
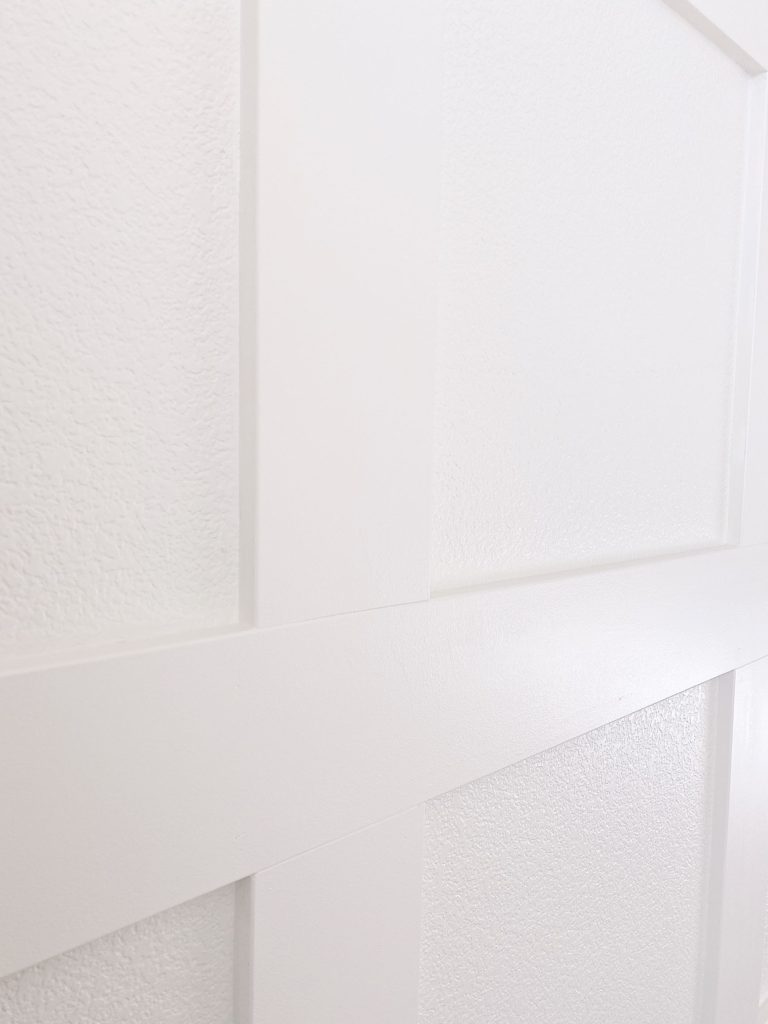
You might also need to patch the nail holes and corner gaps in the moulding, using clear or white wood filler.
Once the wood filler is dry, lightly sand any bumpy spots and touch up all of the wall moulding with paint.
Note: we skipped this step and just painted over the nails since they were so small.

That’s it! Now that you know how to install wall molding, I have a feeling you’ll want to create a feature wall in every room in your home!
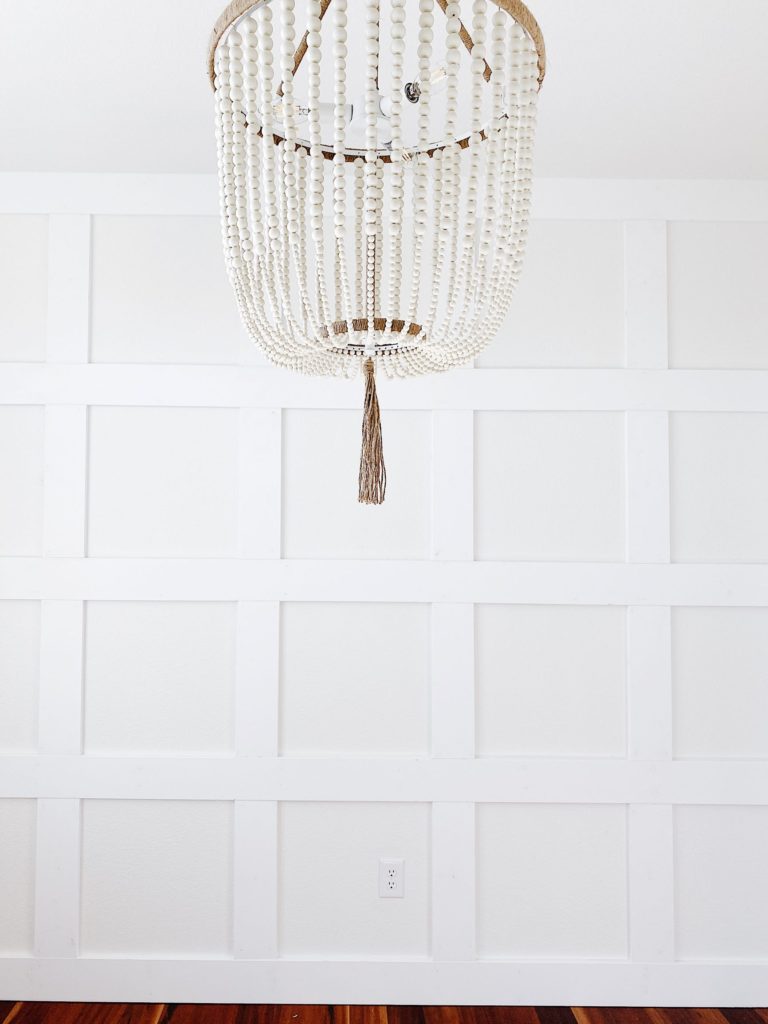
Not only is decorative wall molding a great way to give your spaces a fresh look, it can increase the value of your home, as well.
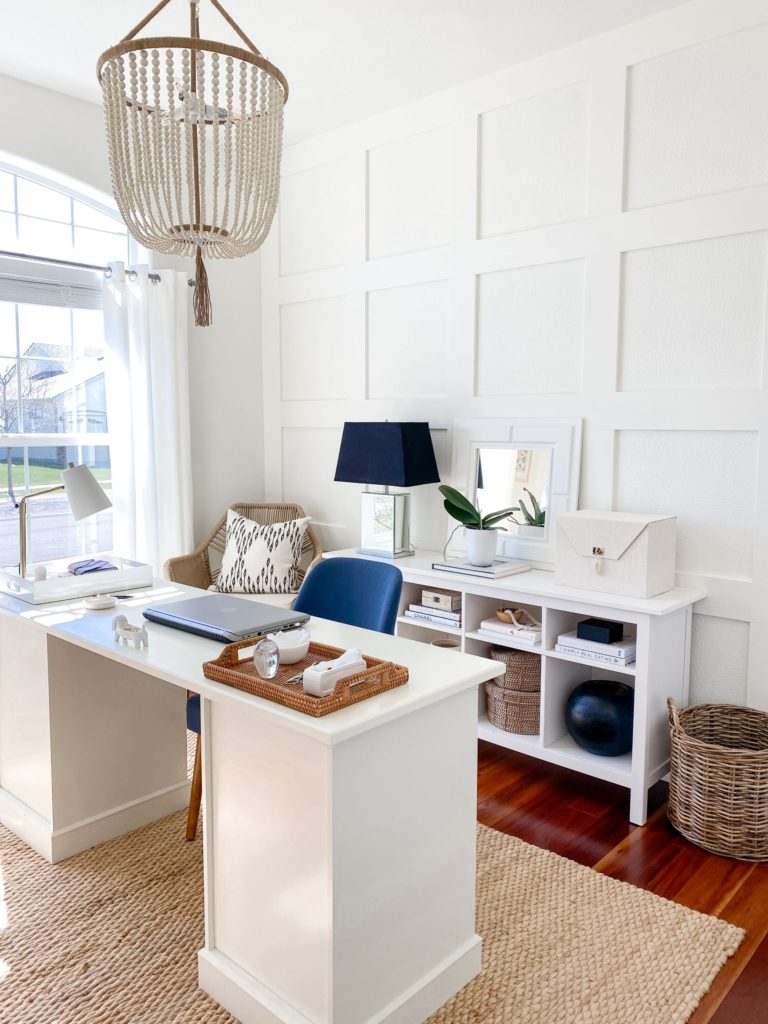
Thank you for sticking with me to the end of this longer-than-usual post! And thank you to my husband and his amazing carpentry skills.
I hope you found this post helpful in learning how to install wall molding in your own home.
Please let me know if you have any questions about installing a decorative molding wall in your home. xo Jane
P.S. If you’d like to learn how to install wall molding in a picture frame style, like the trim work we have in our living room, dining room, entryway, and master bedroom, you might be interested in this tutorial as well: How to Install Picture Frame Wall Moulding.
Looking for more design and decorating ideas? Here are a few favorite related posts from the blog:
Modern Kitchen Pendant Lighting Ideas You Will Love
Modern Coastal Decorating Ideas for Your Home
Kitchen Design Ideas and Inspiration for Your Next Renovation
Beautiful Modern Bathroom Design Ideas and Trends
A Simple Guide to Mixing Metals in the Bathroom
The New Studio McGee Target Collection
How to Add a Touch of Nancy Meyers Style to Your Kitchen and Home
Colors of the Year + Top Home Color Trends for 2025
2025 Home Decor Trends and Design Styles You Will Love
Designer Spotlight: Pure Salt Interiors
How to Choose a Design Style that Feels Right for You
Modern Bedroom Design Ideas for a Dreamy Master Suite
Modern Living Room Ideas and Trends for 2025
Content might contain affiliate links. If you purchase through a link, I may receive a commission at no cost to you. Please see my disclosure policy for details.

