Good morning! Today’s post is all about orchids, including orchid care tips, what to do after they bloom, and helpful ideas and information on how to take care of an orchid plant — including Phalaenopsis and other types of orchids — before, during, and after blooming.
If you’ve been following along for a little while, you know orchids are a favorite of mine. I have four white orchids in our home, and every time one of them blooms, I get so excited I have to share it on Instagram:
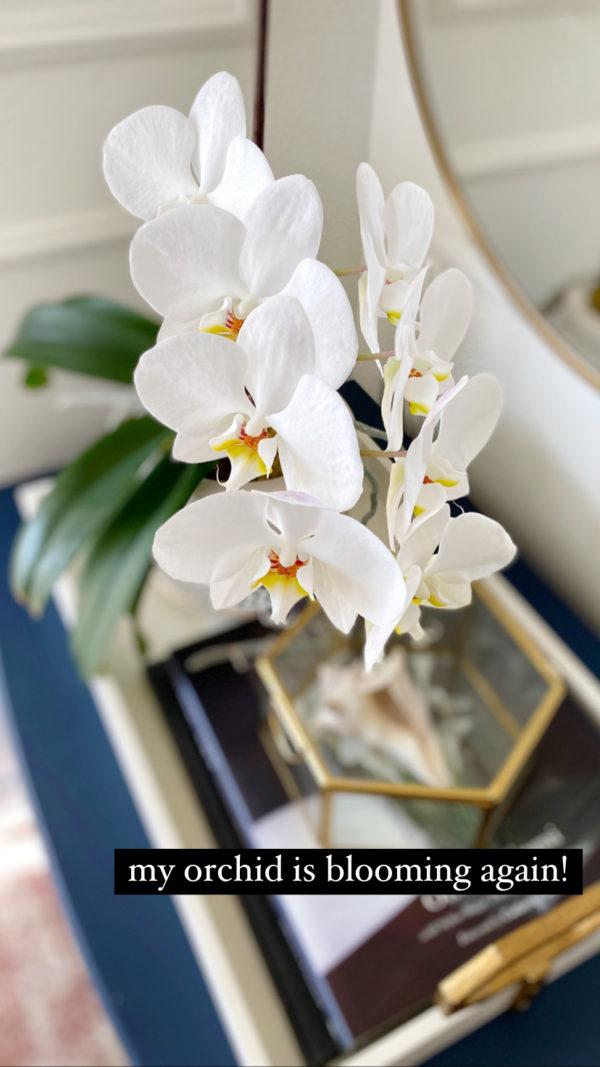
The natural beauty of orchid plants is the best way I’ve found to make any space look finished and cohesive.
Orchids are an interior designer’s secret weapon, because they immediately make any space look more stylish and polished and work beautifully with every design style.
Orchids are perfect for decorating a coffee table or console table, a kitchen counter or dining table, a bedside table, or any spot that needs a little something. My motto is, when in doubt, put an orchid on it!
As the largest family of plants in the world, orchid flowers are unmatched in their beauty and delicacy. I especially love white orchids for their easy care, elegance, and beauty–even when they aren’t blooming!

I love the look of orchid foliage – they’re beautiful even when they aren’t blooming!
Orchid plants are a great way to add a touch of timeless beauty and elegance to any space in your home. And in today’s post, I’m sharing some simple tips on orchid care after bloom, how to take care of an orchid, how to get an orchid to rebloom, a complete guide to Phalaenopsis orchid care, pruning and repotting tips, and much more.
I’ve spent hours learning about this topic and years taking care of orchids, and today I’m sharing everything I’ve learned with you. So whether you’re wondering how to care for an orchid or just thinking about adding one to your home, I hope you’ll find some great ideas, tips, guidance, and inspiration in this post.
How to Take Care of an Orchid Plant
First, how do I take care of my orchid?
If you’re wondering how to take care of your orchid, you’ll be happy to hear that orchids are surprisingly low-maintenance–especially considering how beautiful and exotic-looking they are.
I’m always amazed at how easy my orchids are to care for, and how much beauty I receive in return.
Beginner Orchid Care
To begin, orchids like their temperature, watering schedule, and the amount of light they receive to be relatively stable.
If you’re a beginner, the basic orchid care steps are:
- Place your orchid in a bright spot in your home, where they receive plenty of indirect sunlight.
- Water your orchid approximately every 7 days, or when it begins to dry out.
- Fertilize your orchid with a granular or liquid orchid fertilizer once a month. There’s no need to fertilize an orchid while it’s blooming.
- Occasionally repot your orchid (after the bloom is finished) with orchid potting mix.
By the way, even though this post is kind of long, don’t let that scare you away from adding orchids to your home.
The above orchid care tips are really all you need to know (and honestly, I don’t fertilize or repot very often, and my orchids grow beautifully).
But I want to give you all the information and guidance you might need, so I’ll go into more detail on each of these orchid care tips below.
How to Care for a Phalaenopsis Orchid Plant
Although there are many different species of orchids, Phalaenopsis orchids are the most common. Since the chances are very good that this is the type of orchid you’re caring for, I’ll go into more detail here about how to care for a Phalaenopsis orchid.
Often called “the beginner orchid,” the Phalaenopsis orchid, or moth orchid, is considered one of the easiest varieties of orchids to grow, which explains why it’s also the most popular type of orchid.
Although they appear exotic, Phalaenopsis orchid plants are easy to care for, inexpensive, and almost always available at your local grocery store.
Phalaenopsis orchids typically bloom once or twice a year, and the blooming period can last for several weeks–even months.
A single flower spike can hold 20 blooms or more. My older orchids usually produce about 8-10 large blooms per growing cycle, with 4-5 blooms on each side of the stem. And my mini orchid usually produces about 4-6 blooms during each growth cycle.
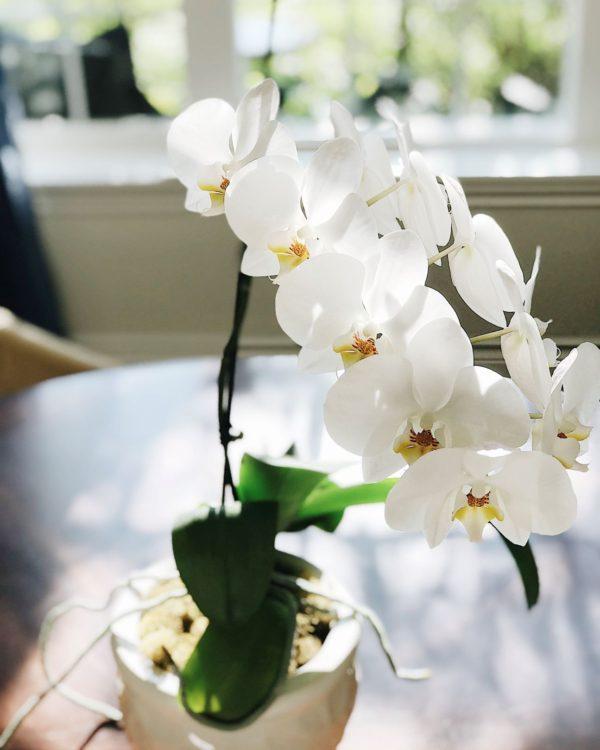
My 5-year-old Phalaenopsis orchid blooms twice a year for about 3 months each time!
By the way, it’s normal for your orchid to grow roots above the soil. These are called aerial roots, and you don’t need to cut them off. I think they add to the beauty of the orchid!
Light
Providing your orchid with enough light will greatly improve the likelihood it will rebloom, so you should place your Phalaenopsis orchid in an area that receives bright, indirect sunlight.
The more light your orchid receives, the longer its blooms will last and the greater its chances of reblooming.
A room with east or south facing windows with plenty of indirect light is ideal for orchids.
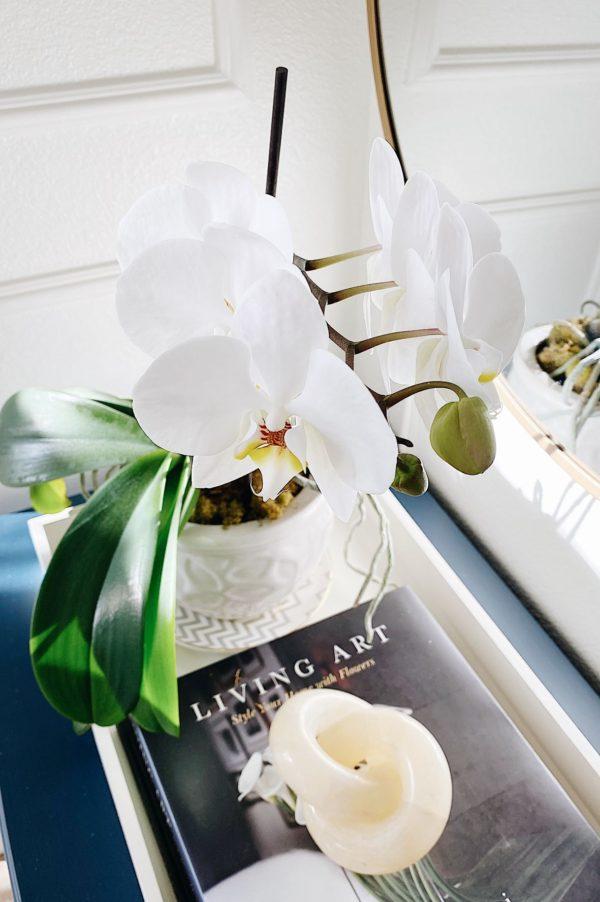
With an eastern exposure, our entryway receives the perfect amount of indirect sunlight for my orchids
The intensity of direct sunlight in spring, summer, and fall can cause orchid leaves to brown. However, in winter, most orchids can handle up to three hours a day of direct sunlight.
The ideal daytime temperature for orchids is around 75° F., and the ideal nighttime temperature is around 65° F. However, our home varies from these temperatures, and my orchids do just fine.
I also recommended turning your orchid plant around every now and then so the new leaves will grow evenly. You can see in some of my photos that I haven’t rotated my orchids very often, because the big leaves tend to lean to one side.

My orchids enjoying our sunny dining room last summer. I think they like hanging out together!
How to Water a Phalaenopsis Orchid
How do you water orchids?
Phalaenopsis orchids don’t have the water-storing capability of other orchids; as a result, they have a lower tolerance for drought.
However, while orchids like to stay moist, they shouldn’t be soggy, so don’t give them too much water or you might end up with yellow leaves.
Water your orchid about once a week, or whenever the exposed orchid roots turn silvery white. After the roots have been watered, they should turn back to a light green color.
I’ve found the best place to water my orchids is in the kitchen sink. I water my plants with lukewarm water for about 15 seconds, until the planting media is completely wet. I then allow the orchids to drain in the sink for about 15 minutes.
When you water your orchid, it’s a good idea to soak the orchid’s roots, but water should never be allowed to rest around the stem of the plant or between the leaves.
After you’ve watered your orchid plant, empty the tray underneath so it’s not sitting in water. Orchids don’t like a continuously wet environment.
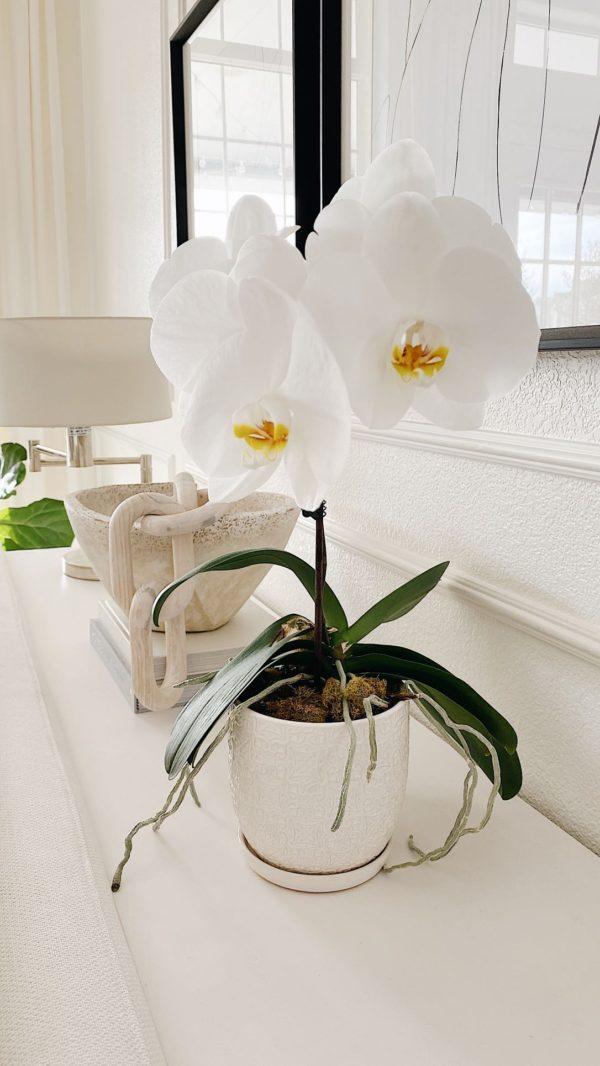
To keep the soil mixture moist between waterings, you can add a bit of sphagnum moss to the top of the soil and spritz it when it dries out.
How to water an orchid with ice cubes
When you buy Phalaenopsis plants, they usually come with a little tag containing tips on how to care for your orchid. These tips often suggest watering your orchid with ice cubes, by placing two large ice cubes at the base of your orchid once a week.
The idea is that as the ice cubes slowly melt, they give the growing medium and roots enough time to absorb the water, providing your orchid with the exact amount of moisture it needs.
When I brought my first orchid home from the grocery store, I used this ice cube watering trick, and it worked just fine. However, now that I have several orchids, I find the kitchen sink watering method works best for me.
Orchid Care After Bloom
What do you do with an orchid after the blooms fall off?
Although orchid blooms last several weeks, after a blooming cycle, the orchid flowers eventually wilt and fall off, which allows the orchid to store up energy for its next blooming season.
Actually, one of the things I love about orchids is that after they finish blooming, their foliage is still vibrant and beautiful on its own.

Your Phalaenopsis will eventually flower again if you give it the proper orchid care after bloom.
After the last flower has completely withered and dropped off and the flower spike is starting to brown, you can either leave the stem intact or snip the flower spike down. See below for tips on when and how to prune or trim an orchid plant.
Then, continue to grow your orchid in a sunny location (but not in direct sun), using the watering, fertilizing, and repotting tips I share in this post.
This time of rest and recuperation will allow your orchid to recover the energy it expended while it was flowering. Without this period of rest, another blooming season might not happen.
You may also repot your orchid during this resting phase. See below for some orchid repotting tips.
How to Trim an Orchid Plant
How far should I cut my orchid stems after they bloom?

After all the orchid blooms have wilted and dropped, you can either leave the stem intact or choose to cut back the flower spike. If the flower stem remains green, leave it alone or choose Option 2, below, as your orchid might bloom again from the same stem.
If you choose to cut back the stem, you have two options:
- Option 1: This is the option to choose if the stem has already started turning brown, as dead stems will never produce more blooms. Remove most of the flower spike by clipping it off to about 1 inch from the base of the plant, using sharp scissors or pruning shears. Cutting back the spike this way will allow the orchid to concentrate all its energy on root development and increase the likelihood your orchid will bloom again.
- Option 2: The orchid stem will have a few nodes going up the spike prior to where the blooms started. These nodes have the potential to branch out with new blooms. If your orchid stem is still green, you can cut the top of the spike off to about 1/2 inch above a node, using very sharp scissors or pruning shears.
What does an orchid flower spike look like?
After several weeks, often in the fall, a new flower spike should appear. This bloom spike is different from the squiggly roots. Instead, the new spike will look like an upward-growing glossy green point, like a tiny hand with a mitten on it.
All of my orchids are blooming right now, so I don’t have a photo of a bloom spike to share with you, but I’ll add one here later.
As the new flower spike grows taller, to about 5 inches, you can place a bamboo stake next to it for support and gently attach one or two of those little jaw-type clips (or loosely tie with twine), being very careful not to squeeze the new flower spike.
Fertilizing and Feeding an Orchid
If you want your orchid to bloom again, fertilization is important. However, orchids are not heavy feeders, so don’t give them too much fertilizer.
Most orchid experts recommend fertilizing about once a month with a weak diluted orchid fertilizer, at about 25 to 50 percent strength.
Another method is to use a nylon stocking to create a little ball filled with controlled-release fertilizer and place that in the potting mixture. Or, you can just scatter a few granules of the gradual-release fertilizer in the potting medium, according to the instructions on the label.
How Often Does an Orchid Bloom?
When grown as indoor plants, Phalaenopsis orchids typically flower once a year, but some orchids rebloom every three to six months. With proper care, the blooms should last two or three months before fading.
Phalaenopsis orchids usually bloom in the winter through the spring. However, my orchids typically bloom twice a year, in both winter and summer.
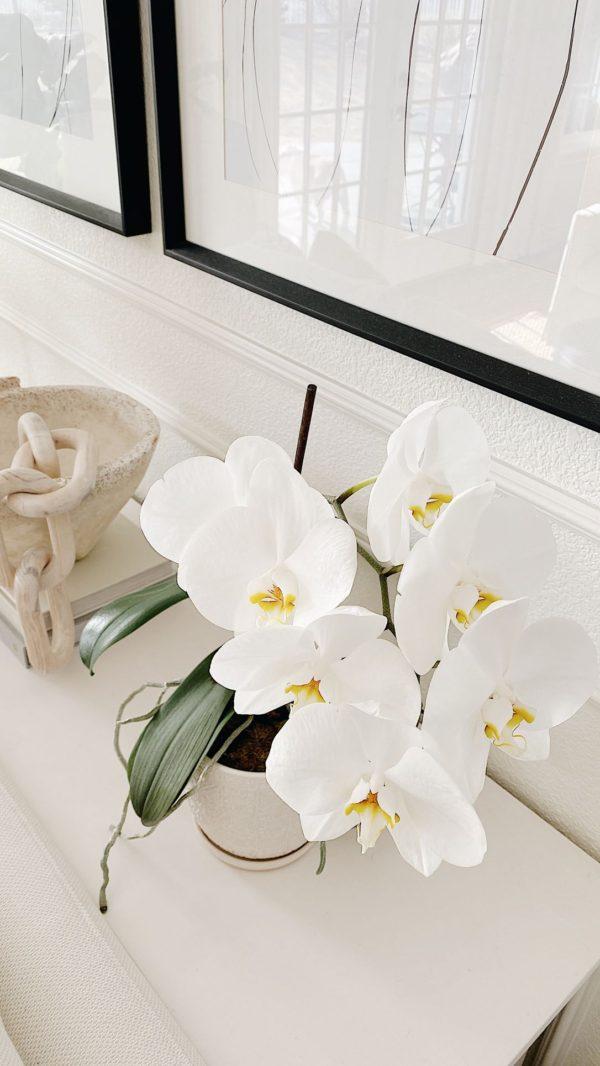
My orchids usually bloom two times a year, in winter and summer
A couple of years ago, when we were doing some construction in our house, one of my orchids was exposed to a bunch of tile dust. Within just a couple of days, its blooms started withering and falling off.
Since then, I always try to keep my orchids in a well-ventilated spot, with a consistent temperature, watering schedule, and amount of sunlight, especially while they’re blooming.
Orchid Care Rebloom Tips: How to Make an Orchid Bloom Again
If your plant is well taken care of through its blooming period, then you stand a good chance at getting your Phalaenopsis orchid to bloom again.
You’ll know your orchid is ready to start its rebloom cycle when it has grown a complete new leaf after the flower spike has been cut off.
Sometimes, however, when Phalaenopsis orchids are grown in a consistently warm home, they need a little help to realize it’s fall and start to rebloom.
So one trick you can use to get an orchid to bloom again is to move it to a cooler area where it will experience lower nighttime temperatures, between 55° F. and 65° F.
Just make sure the cooler spot you place your orchid in still receives bright, indirect sunlight during the daytime.
We have a spare bedroom that stays cooler than the rest of our home, but still receives plenty of sunshine during the day, so this is where I move my orchids when I want to coax them to rebloom.
Once new growth appears (see above for tips on what a new flower spike looks like), you can return your orchid to its normal warmer location.
If you follow these simple reblooming tips, you can usually get your orchid to bloom about twice a year and hold its blooms for several weeks.
If, however, after several months, a flower spike doesn’t appear on its own, you might try giving your plant a dose of blooming fertilizer.
How to Replant an Orchid
How do you repot an orchid plant?
First, only replant your orchid after it has finished blooming (usually in spring). Also, most Phalaenopsis can grow up to two years before they need to be repotted, so don’t feel like you need to repot your orchid often.
In their native environment, moth orchids (Phalaenopsis) grow on trees and are considered air plants, or epiphytes, and therefore don’t grow in regular soil.
Rather, orchids are often planted with a potting medium that mimics a tree, such as tree bark chips or sphagnum moss.
You can buy commercial potting mixes that are specifically made for orchids. Most orchid potting media will also have some perlite, sphagnum moss, coconut husks, or charcoal mixed in to help it retain moisture.
Orchids need plenty of air circulation for the root system to grow and thrive, so it is recommended to repot your orchid in a clear plastic pot with free drainage. Then you can slip the clear plastic pot inside a prettier ceramic pot to cover it.
When you repot your orchid, try to avoid forcing or pushing all of the roots into the potting medium, as some roots need to grow upward and outward.
The most important thing is to make sure that the bulb-like base of your orchid, or corm, is anchored in the potting mixture.
After repotting your orchid, you can fertilize it with a granular or liquid orchid fertilizer, according to instructions on the label, and continue to fertilize your orchid about once a month until it blooms again. See above for some tips on feeding your orchid plant.

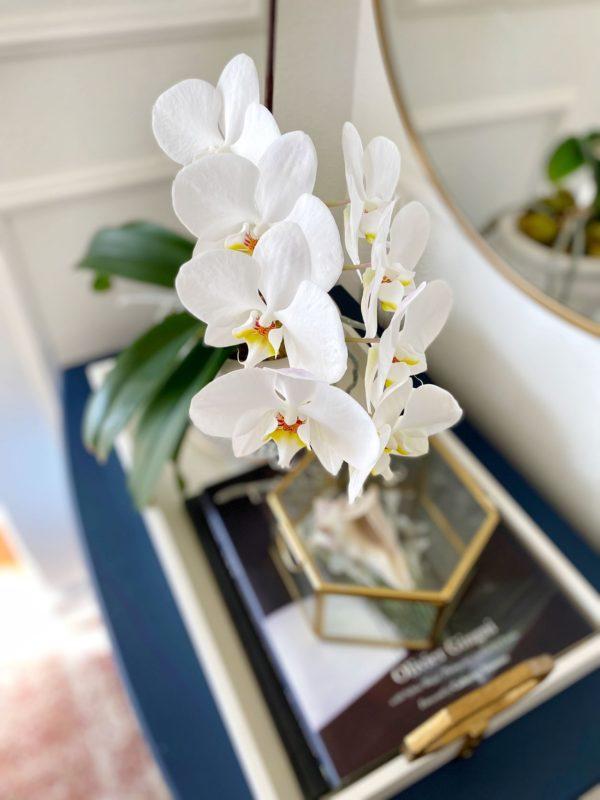
I love placing my orchids in front of a mirror for double the beauty!
Where to Shop for Orchid Care Essentials
Orchid care after bloom doesn’t have to be difficult or expensive. Below are a few places to shop for orchid pots, the best soil and potting mix for Phalaenopsis orchids, and orchid fertilizers.
Orchids, Orchid Pots, Soil and Potting Mix for Orchids, and Orchid Fertilizers:
Looking for more ideas and inspiration? Here are a few favorite posts from the blog:
Modern Coastal Decorating Ideas for Your Home
How to Add a Touch of Nancy Meyers Style to Your Kitchen and Home
What is Coastal Grandmother Style? (and why I’m loving it!)
Kitchen Color Trends + Best White Paints for Kitchen Cabinets
Modern Kitchen Pendant Lighting Ideas You Will Love
A Simple Guide to Mixing Metals in the Bathroom
A Simple Guide to Mixing Metals in the Kitchen
Quiet Luxury Interior Design Ideas and Inspiration
I hope you found this post informative and helpful! In my opinion, orchids are the perfect addition to every home and a great way to elevate any space.
Please let me know if you have any questions about orchid care after they bloom, or any other questions about caring for orchids. Have a wonderful day! xo Jane
Content might contain affiliate links. If you purchase through a link, I may receive a commission at no cost to you. Please see my disclosure policy for details.


No Comments