
The past couple of weeks my husband and I have been immersed in our biggest and most satisfying DIY project to date: installing panel moulding (also called picture frame molding) to all the walls in our entryway, dining room, and living room. We measured and cut and nailed and caulked and sanded and painted and downed a thousand cups of coffee. And in the end it was all worth it, because we’re thrilled with the results!
Our Picture Frame Molding Wall Project
First of all, make sure to visit these related posts, How to Install Picture Frame Molding and How to Install Decorative Board and Batten Wall Molding.
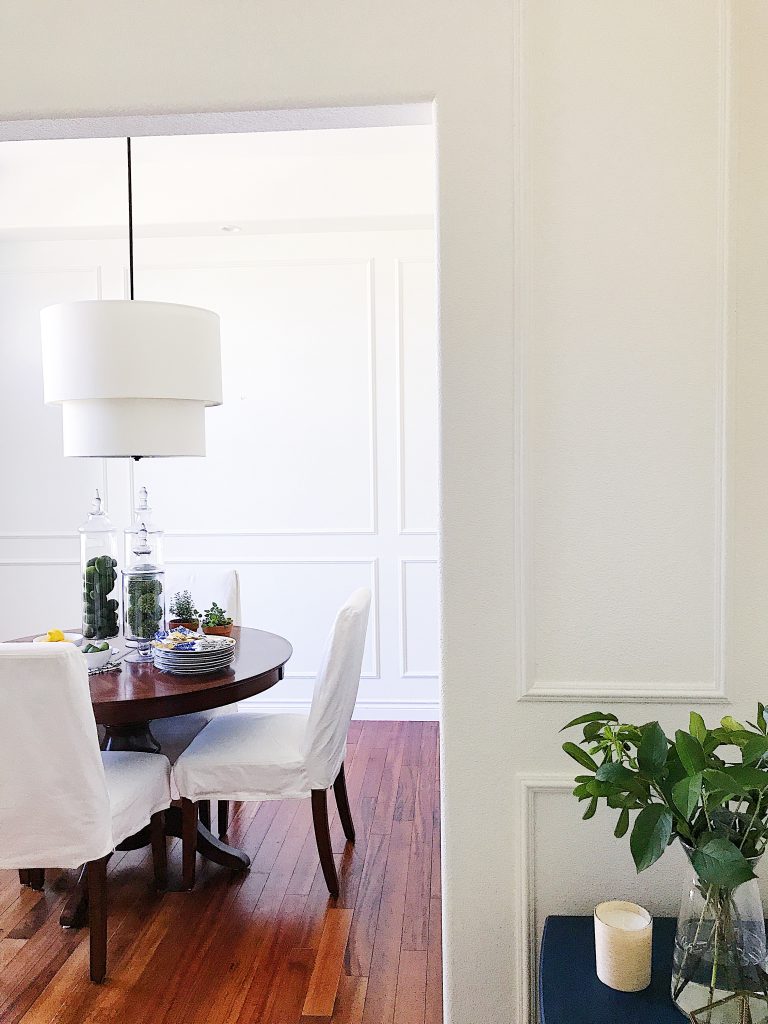
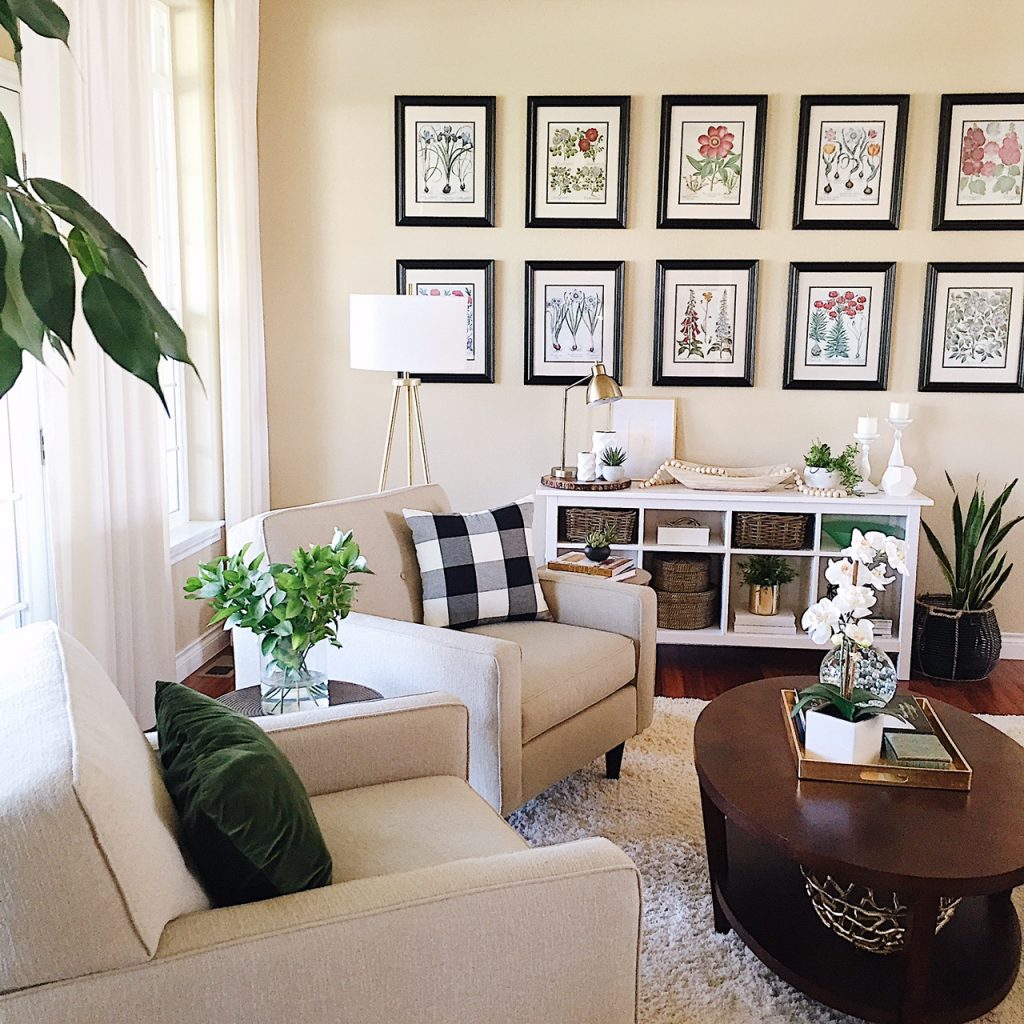
To refresh your memory, here’s what our dining room looked like before:

And here’s the after:
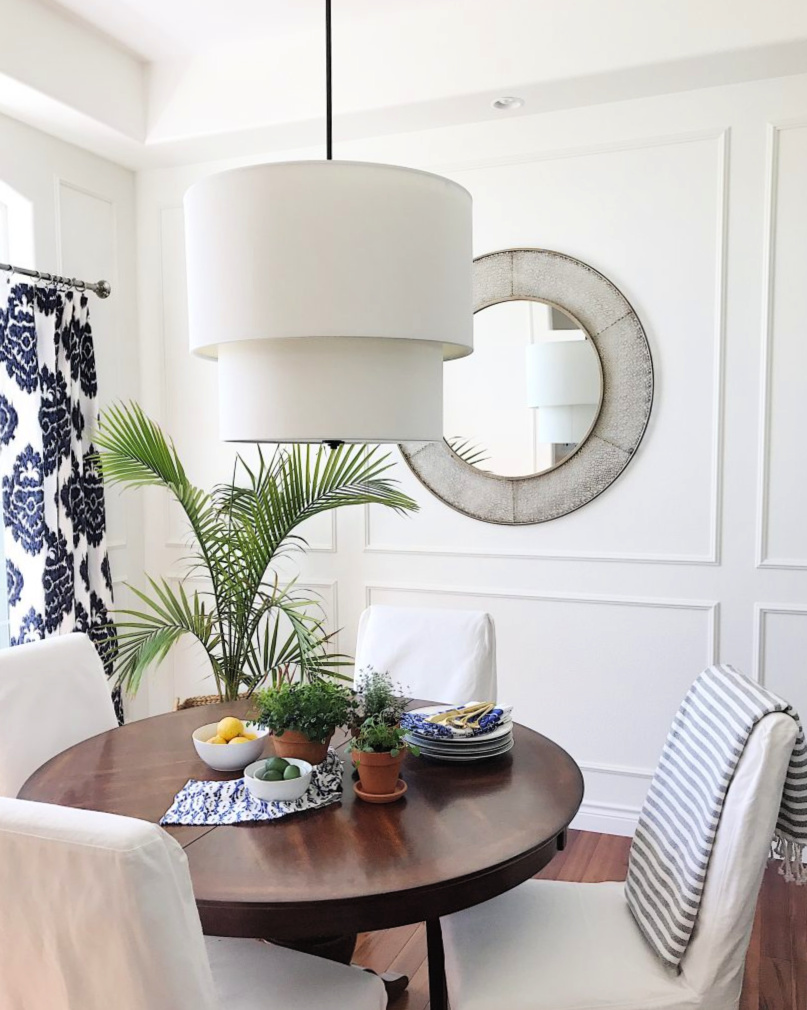
I just can’t get over the transformation. Along with the white paint, the addition of molding has changed the entire look and feel of our home. But, believe it or not, it almost didn’t happen!
Remember back in February when I told you I wanted to add picture frame molding to the walls in our main living spaces? Well, shortly after that, I got cold feet. Truth be told, I was afraid to make a change. Our newly-painted white walls, while a little bare, were at least safe.
The other thing that made me a bit nervous about going forward was that all of the walls in our entryway, dining room, and living room are attached to each other with no real “stopping point.” That meant that once we started this project, we had to commit to doing all three areas.
Then, in March, when I was still going back and forth about adding panel molding, I received the April issue of House and Home magazine, and this quote practically jumped off the page:
“The rule of ‘no risk, no reward’ is especially true when it comes to renovating. Most of us can’t close our eyes and imagine the end result, or know for sure that our ideas will work. But if the impulse for change is strong enough, you take the leap! How else will you get the rooms you want? And yes, it’s worth it — we promise.”
Once I read that quote, I knew I had to go forward with this project. It was as though it was written just for me, and from that point on, I had no second thoughts.
I’d already spent a lot of time looking for inspiration, especially on Pinterest. In fact, I put together an entire board devoted to trim, molding and details.
I knew I wanted a clean, modern look for our project, so I decided to omit the chair rail. Part of the reason for this was because our doors and windows aren’t trimmed, and we didn’t want the chair rail to butt up against a bare door or window frame.
Here’s a before and after of the entryway:
Of course, choosing the right molding was a huge part of making sure the project turned out well. When Dave and I shopped the local hardware stores for ideas, the brand that kept coming up again and again was Metrie, so I decided to check out their website, and I’m so glad I did because it turned out to be a really great resource.
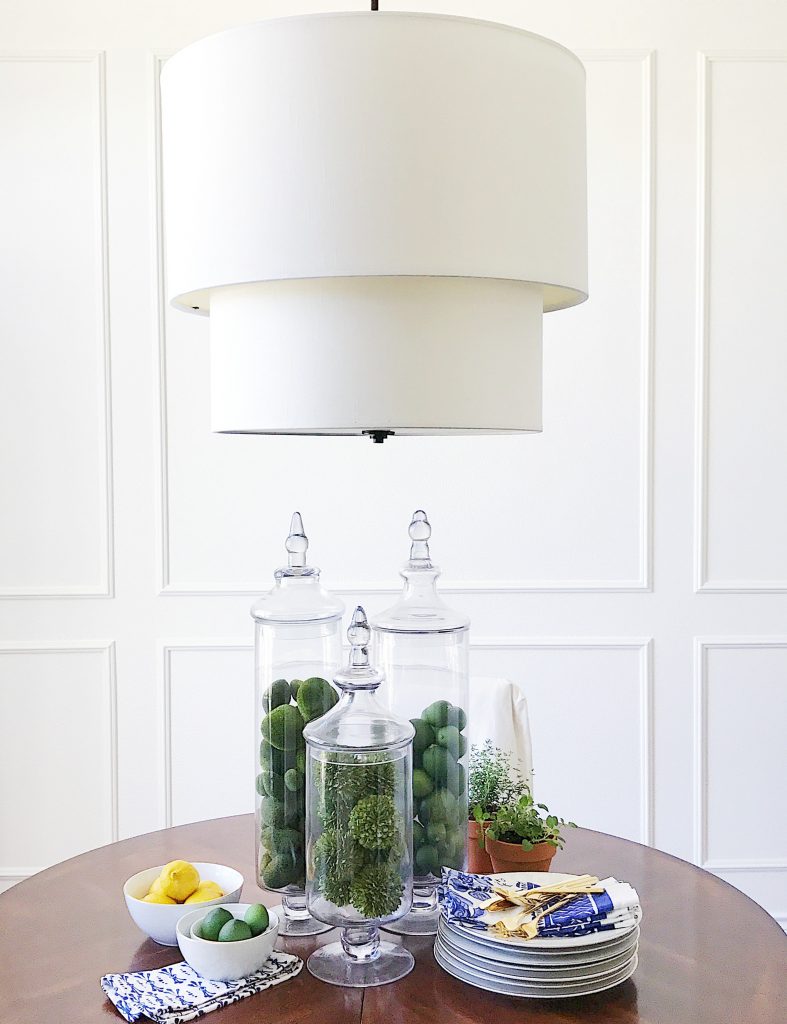
Metrie has their products divided into collections according to design style and project type, which made it really easy to compare different types of molding. The collection I was drawn to was the Fashion Forward collection, and the product I chose was their Scene II Panel Mould.
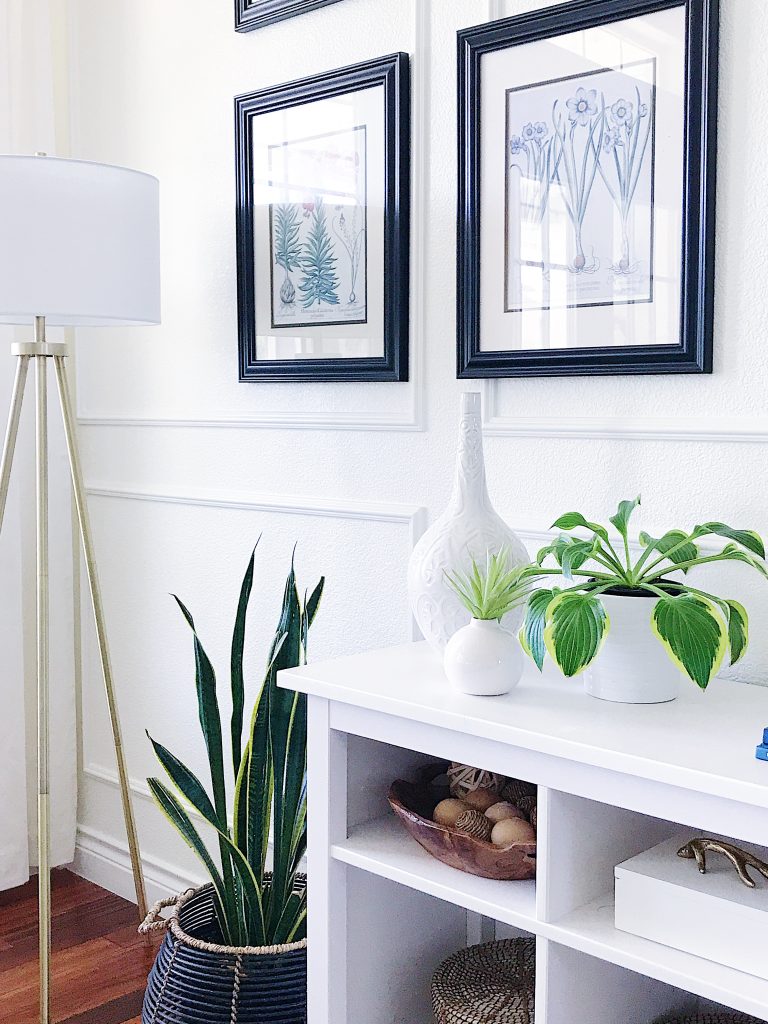
I love this molding style because it’s more sleek and simple than many varieties of trim work. It’s also symmetrical, so when you cut it, you don’t have to worry about determining the inside and outside of the piece. And once it’s on the wall, it looks like a beautiful picture frame.
I would have loved to completely redecorate these spaces with new furniture and lighting and artwork before sharing them with you, but that didn’t happen. And maybe that’s for the best, because this way you can see what a difference just adding a bit of molding makes to the look and feel of a space.
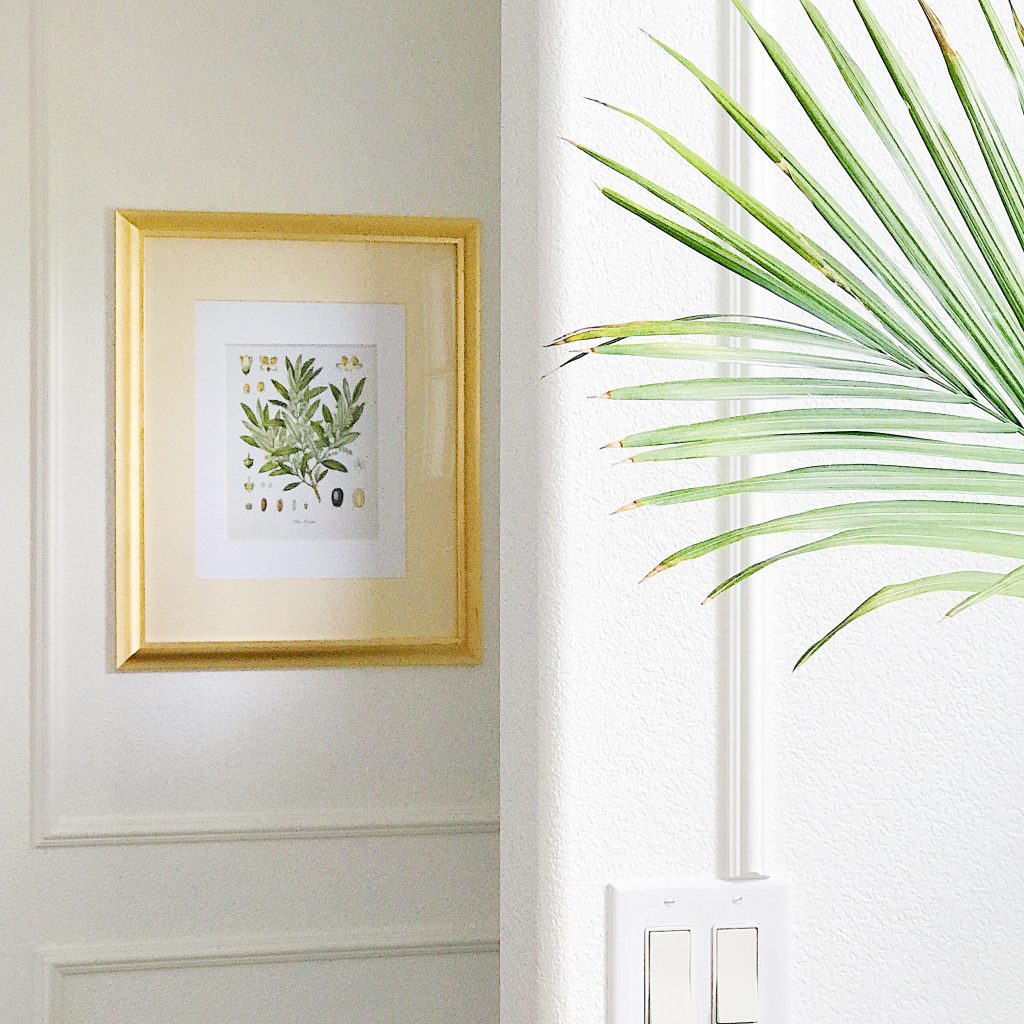
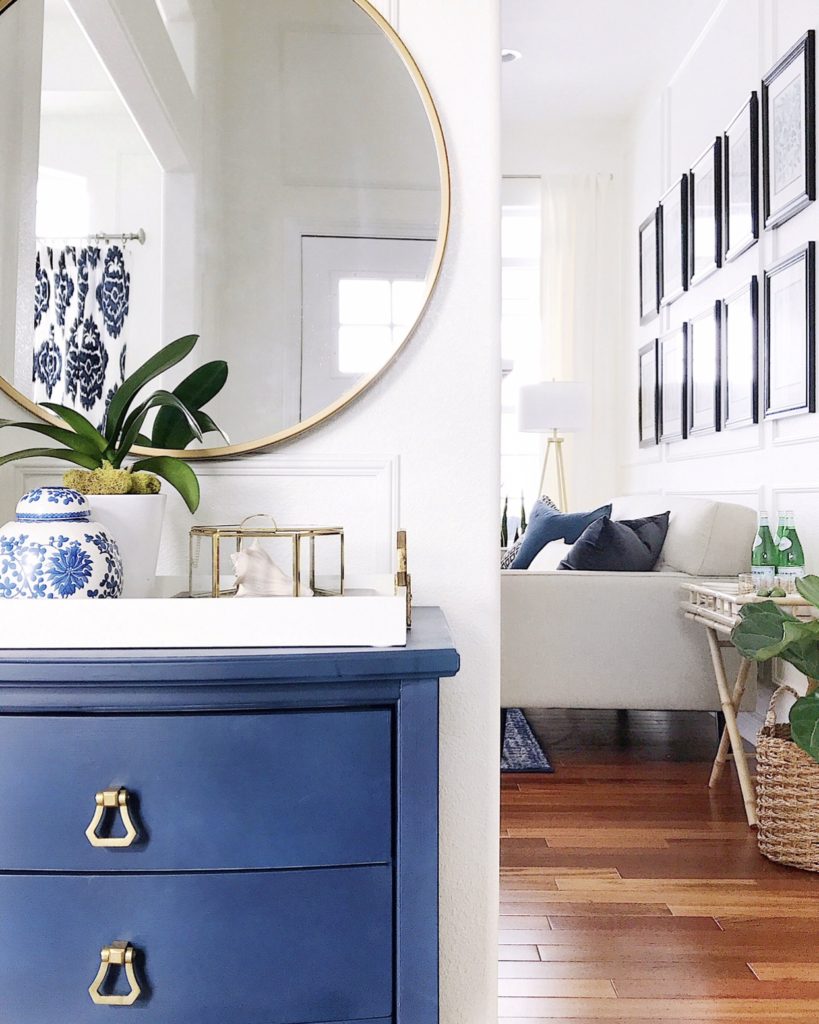
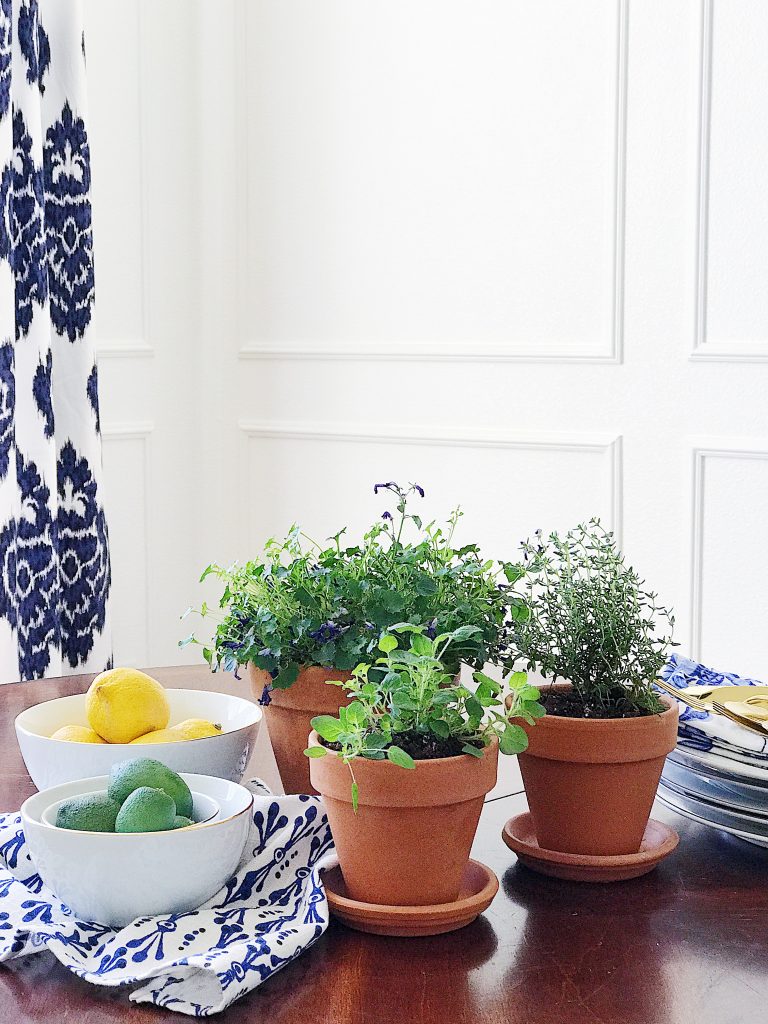
 In many of these photos I also left the walls bare, in part, to feature the beauty of the molding, but also to show you that once you add picture frame molding to your walls, you really don’t need to add much else. It kind of takes the pressure off, because you don’t feel like you have to dress up your walls if you don’t feel like it!
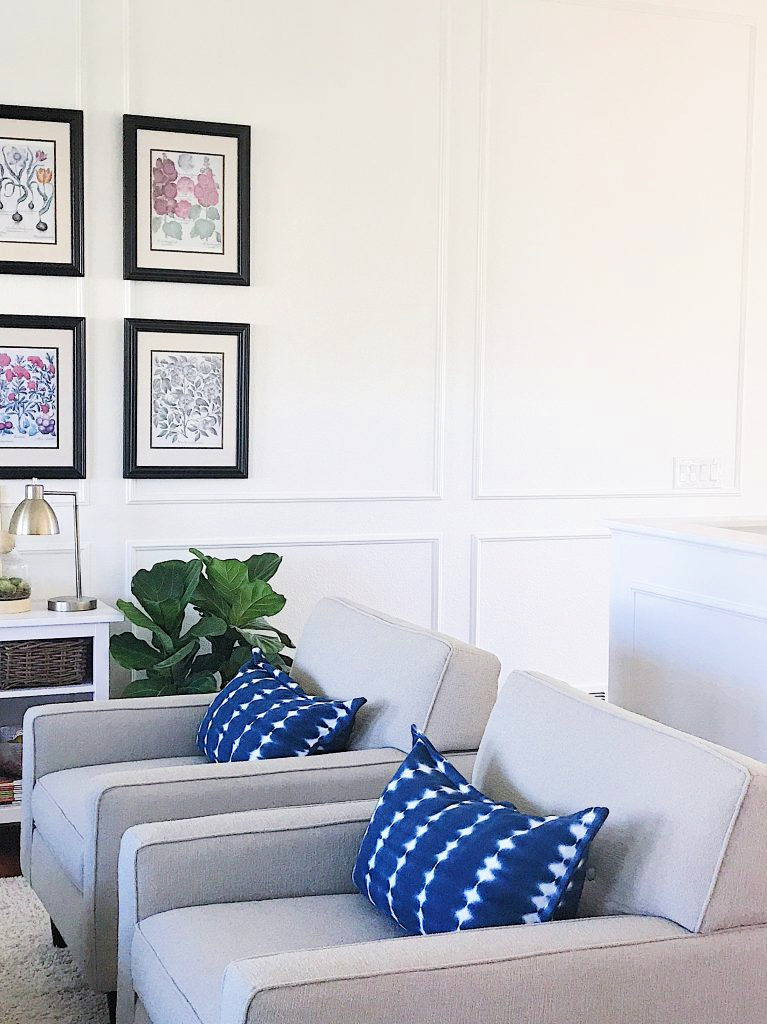
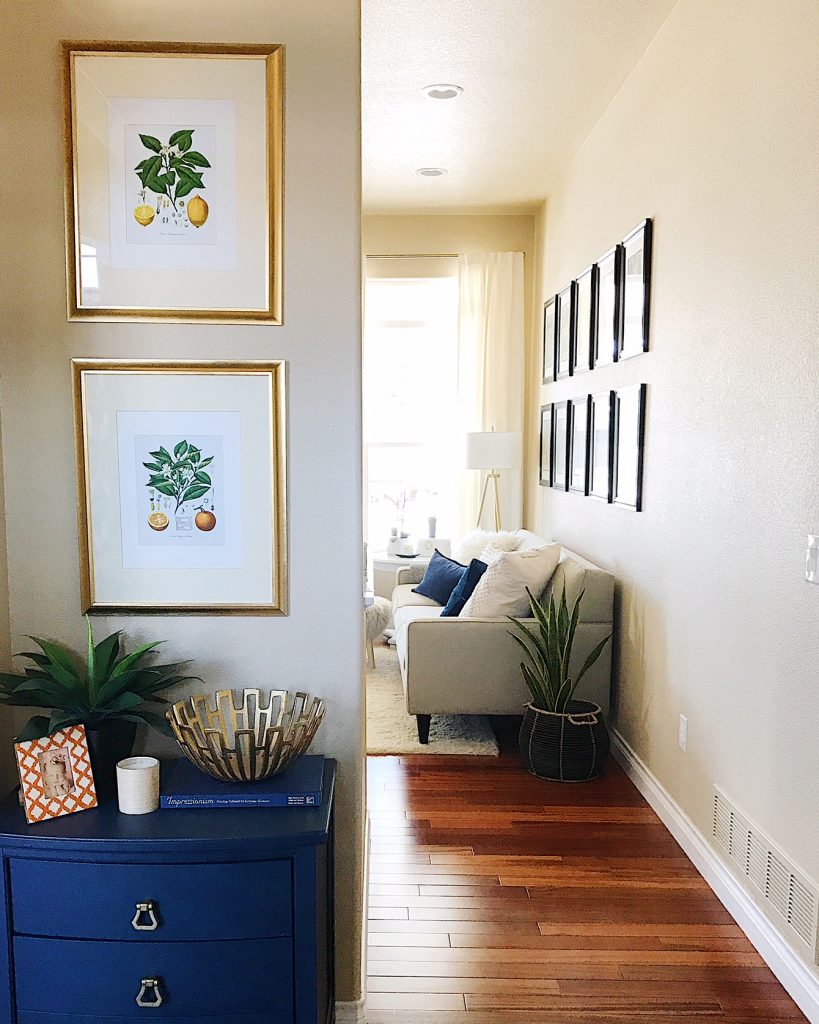
That said, I did recently re-hang my botanical prints in the living room–just to see how they would look since some of the frames overlap the trim work. Although I do like how they look back in their old spot, I might eventually move them to a different room and try adding just one big piece of artwork in the living room.
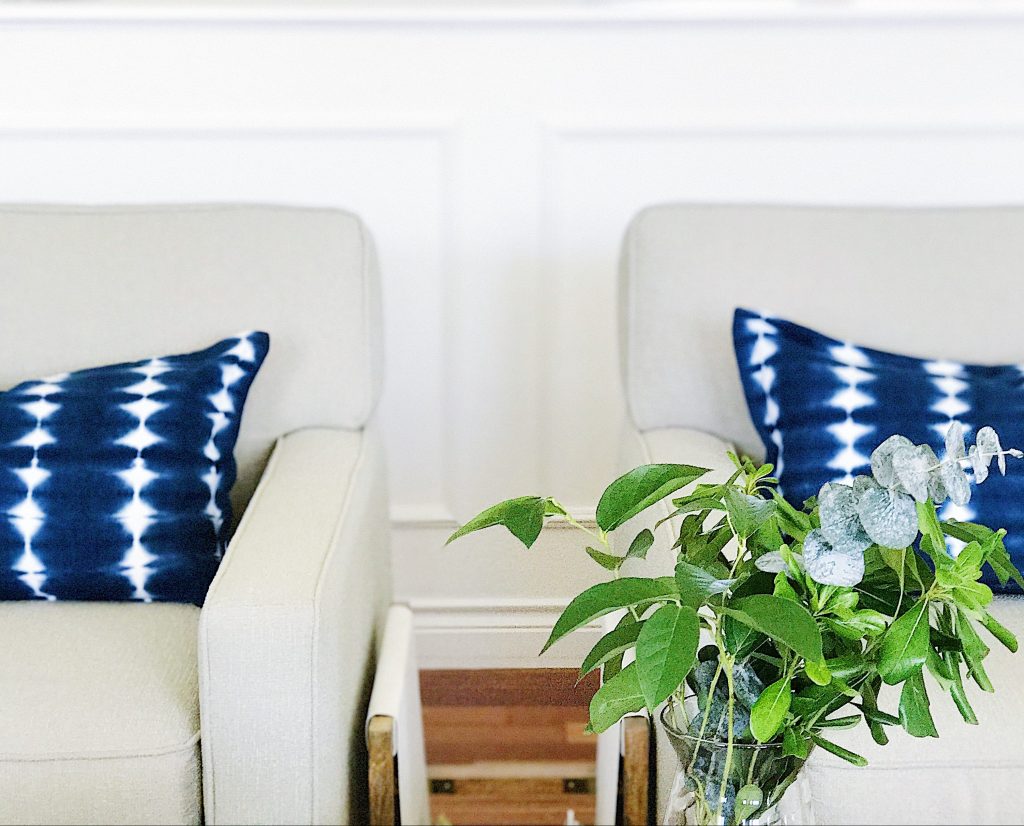
Speaking of the living room, here’s a before and after:
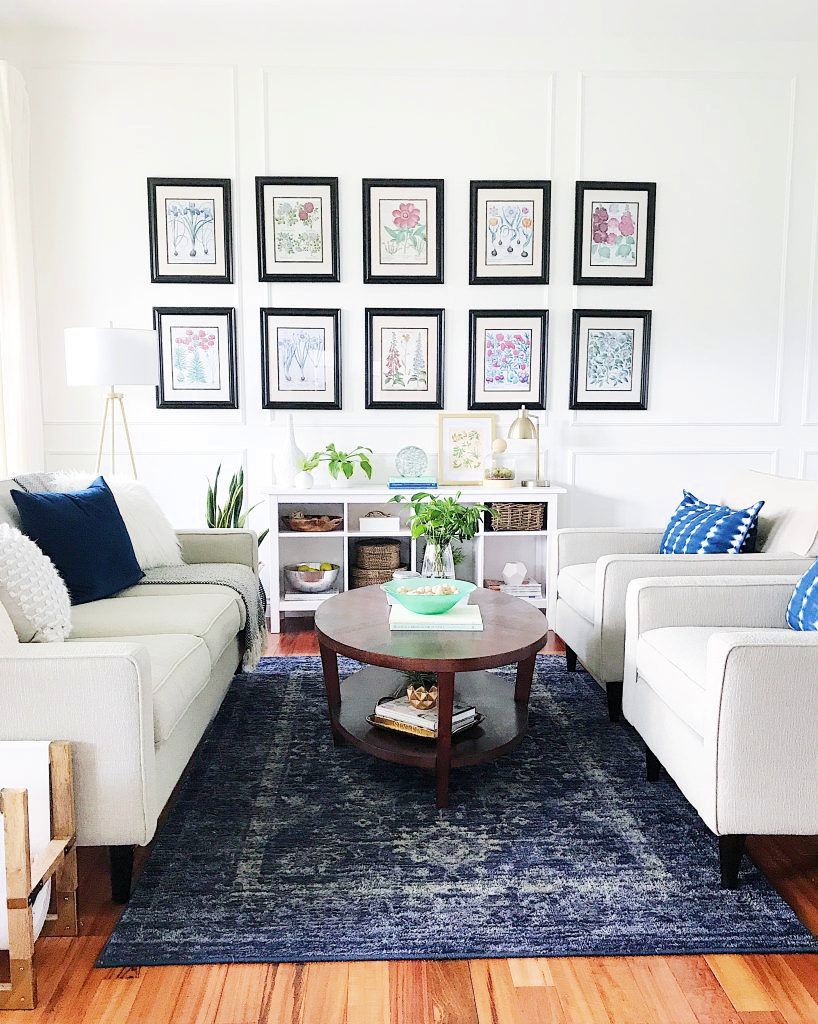
I can’t even begin to tell you how happy I am with how this project turned out!
The only downside I can think of is that once you start adding picture frame molding to your walls, you’ll want to add it to every space in your home!
The moral of this story is don’t be afraid to take a chance. Your home is your creative playground. Sometimes you just need to block out all the outside opinions and “rules” and just go with what you know in your heart will make you happy.
How else will you get the rooms you want? And yes, it’s worth it — I promise!
Thank you for sticking with me through this long post! If you’re interested in installing molding in your home, check out my post on how to install picture frame molding. I share some tips and tricks we learned along the way, including a fantastic method for making this project easier.
I’m so grateful for my wonderful husband, who could easily start a new career as a trim carpenter! He truly did an amazing job, and I’m so thankful for his willingness to help make this project come to life!
Last, but not least, I’d like to extend a huge thank you to Metrie for working with me on this project. While they provided the molding, all opinions expressed are my own.
xo jane
Content might contain affiliate links. If you purchase through a link, I may receive a commission at no cost to you. Please see my disclosure policy for details.
9 Comments
Steven
March 14, 2024 at 1:46 pmHi Jane, Love this project! Unfortunately they no longer sell the exact moulding, at least in my area. May I ask the total width of your moulding pieces? I am seeing options for between 7/8″ and 1 & 5/8″
Jane
March 14, 2024 at 2:26 pmHi Steven! Thank you so much for your kind words. Our moulding pieces are 1 & 3/8″ wide. I hope this helps and wish you all the best with your project! Jane
Christine Brady
August 18, 2023 at 2:47 pmWhat color paint did you use? And finish? It’s gorgeous!
Jane
August 19, 2023 at 3:00 pmThank you so much! We used Simply White by Benjamin Moore in an eggshell finish. xo
Susan Melamed
June 9, 2022 at 9:21 amI just happened on your site and I LOVE the picture frame molding. What a difference!!! Wondering if you used the same sheen paint on the walls and the picture frame molding. I am going to update my powder room and plan on using White Dove semi-gloss paint for the baseboards, crown molding and trim work, and White Dove matte or satin for the walls. What sheen do you recommend I use on the picture frame molding? Thanks!!!
Jane
June 9, 2022 at 3:40 pmHi Susan! Thank you so much for your kind words! We used the same sheen on the picture frame molding as on the walls, which was a satin finish. And we used semi-gloss on the baseboards and other trim work. I know some people use semi-gloss on the picture frame molding, but I’ve been happy with my decision to use the same finish as the walls. I hope this helps, and I wish you all the best with your project — it’s going to be beautiful!! xo Jane
Monica
December 31, 2019 at 11:58 amI am having the same issue, some of my art will overlap the moulding— how did you balance your art work so it still would hang flat over the moulding?
Jane
December 31, 2019 at 3:50 pmHi Monica, thank you so much for your question! Right now, some of the frames aren’t hanging completely flat, and if you look at them from the side you can tell they’re sticking out a bit on one side, but oddly enough it still looks okay. I did have to pull some of the hooks out from the wall a bit to allow the frames to have a little more wiggle room. I hope this helps. Have a great day! Jane xx
Carol Heartfelt Whimsies
May 20, 2017 at 10:21 amThis molding is an amazing addition to your already beautiful home. Love all the white with that molding detail!! Tell your hubby–great job!!